Maximizing Muscle Growth and Strength with the Perfect Push Workout: A Comprehensive Guide to the Push | Pull | Legs (PPL) Split series by Jeff Cavaliere
When we look at creating a perfect workout, no matter what it is, you have to understand there’s a lot of selections that go into that. I’m making my bold selections here and putting them into this workout for a reason because I believe it’s going to work to help you to build muscle. That being said guys, I want to break it down for you step-by-step and show you not just what we’re picking, but why we’re picking it so you can get the gains that you’re looking for.
Understanding the PPL Split
Before we dive into the details of the perfect push workout, let’s first understand the Push | Pull | Legs (PPL) split. This split is a popular and effective way of organizing workout routines. It involves dividing your training sessions into three main categories: push, pull, and legs.
On the push day, you focus on training the pushing muscles, which primarily include the triceps, shoulders, and chest. By dedicating a specific day to these muscles, you can ensure they receive proper attention and stimulation for growth and development.
The perfect push workout we’ll be discussing today is part of the PPL series, which means it complements the pull and legs workouts. This split allows for balanced and comprehensive training of all major muscle groups, leading to overall strength and physique improvements.
The PPL Split and Training Frequency
| Day | Monday | Tuesday | Wednesday | Thursday | Friday | Saturday | Sunday |
|---|---|---|---|---|---|---|---|
| Option A | Pull | Push | Legs | Pull | Push | Legs | OFF |
| Option B | Pull | Push | Legs | OFF | Pull | Push | Legs |
| Option C (Asynchronous Split) | OFF | Pull | Push | Legs | OFF | Pull | Push |
This weekly chart provides a structured plan for your training routine. It ensures that each major muscle group is targeted with adequate rest days in between to promote recovery and growth. Remember to adjust the sets, reps, and exercises according to your fitness level and goals. Stay consistent and enjoy your workouts!
Now that we have a comprehensive understanding of the perfect push workout, let’s take a moment to discuss the PPL split and training frequency options. The PPL split allows for organized and balanced training of all major muscle groups throughout the week.
In the PPL split, you have the option to follow a six-day training cycle, where you repeat the push, pull, and legs workouts for six consecutive days before taking a day off. This approach provides consistent stimulation to the muscles, promoting growth and progress.
Alternatively, you can opt for the asynchronous split, which involves incorporating rest days between the push, pull, and legs workouts. This split allows for more frequent rest and recovery, which can be beneficial for muscle growth and reducing the risk of overtraining.
The asynchronous split, as mentioned earlier, provides an additional rest day between each workout. For example, you can perform the push workout on day one, followed by a rest day on day two. Then, proceed with the pull workout on day three, followed by another rest day on day four. Finally, perform the leg workout on day five, followed by a rest day on day six. This pattern repeats for subsequent weeks.
While the asynchronous split may introduce an unpredictable off day, the additional rest days allow for enhanced recovery, potentially leading to better muscle growth and overall performance. However, it’s important to note that individual preferences and training goals may vary, so choose the frequency that suits your needs and allows for adequate recovery.
The Perfect Push Workout: Push One
Now, let’s dive into the details of the perfect push workout. We have carefully selected a set of exercises that target the triceps, shoulders, and chest to maximize muscle growth. In Push One, we will cover six exercises that work synergistically to help you achieve the desired results. Let’s explore each exercise in detail:
Exercise 1: Barbell Bench Press
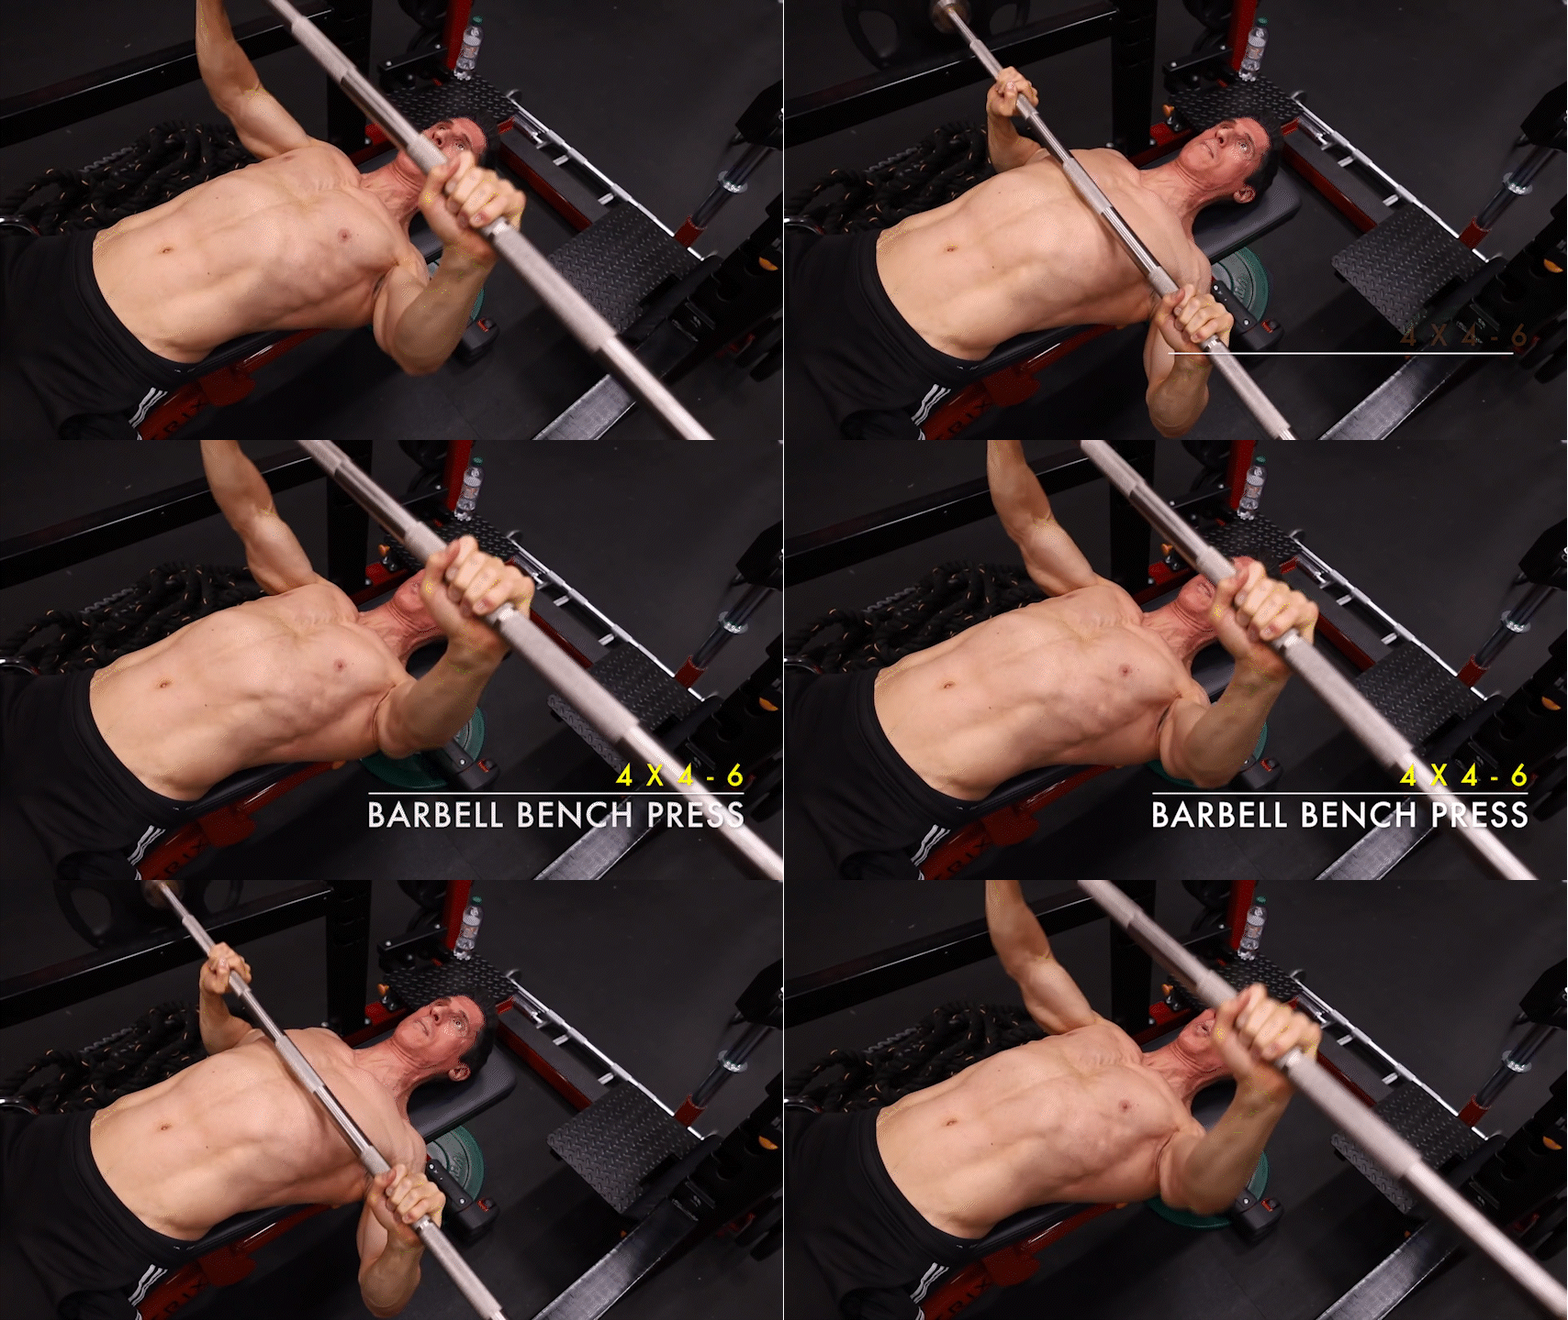
The Barbell Bench Press is a classic exercise that forms the cornerstone of any effective push routine. It is an excellent compound movement that builds strength and muscle mass in the triceps, shoulders, and chest. When performing the Barbell Bench Press, aim for four sets of four to six reps. This rep range allows for sufficient intensity without pushing yourself to failure. Keep in mind that as fatigue sets in, you may need to adjust the weights to maintain proper form and stay within the prescribed rep range.
Exercise 2: Hi-to-Low Crossover

To complement the Barbell Bench Press, we incorporate the Hi-to-Low Crossover. This exercise provides a unique opportunity to fully contract the chest by bringing the arm across the body. By performing the crossover in a high-to-low motion, we target the lower chest fibers, particularly the abdominal fibers. Additionally, this exercise promotes full adduction of the hand across the chest, making it an effective hypertrophy exercise. Aim for three sets of 10 to 12 reps to maximize the benefits of this exercise.
Exercise 3: Dumbbell Shoulder Press
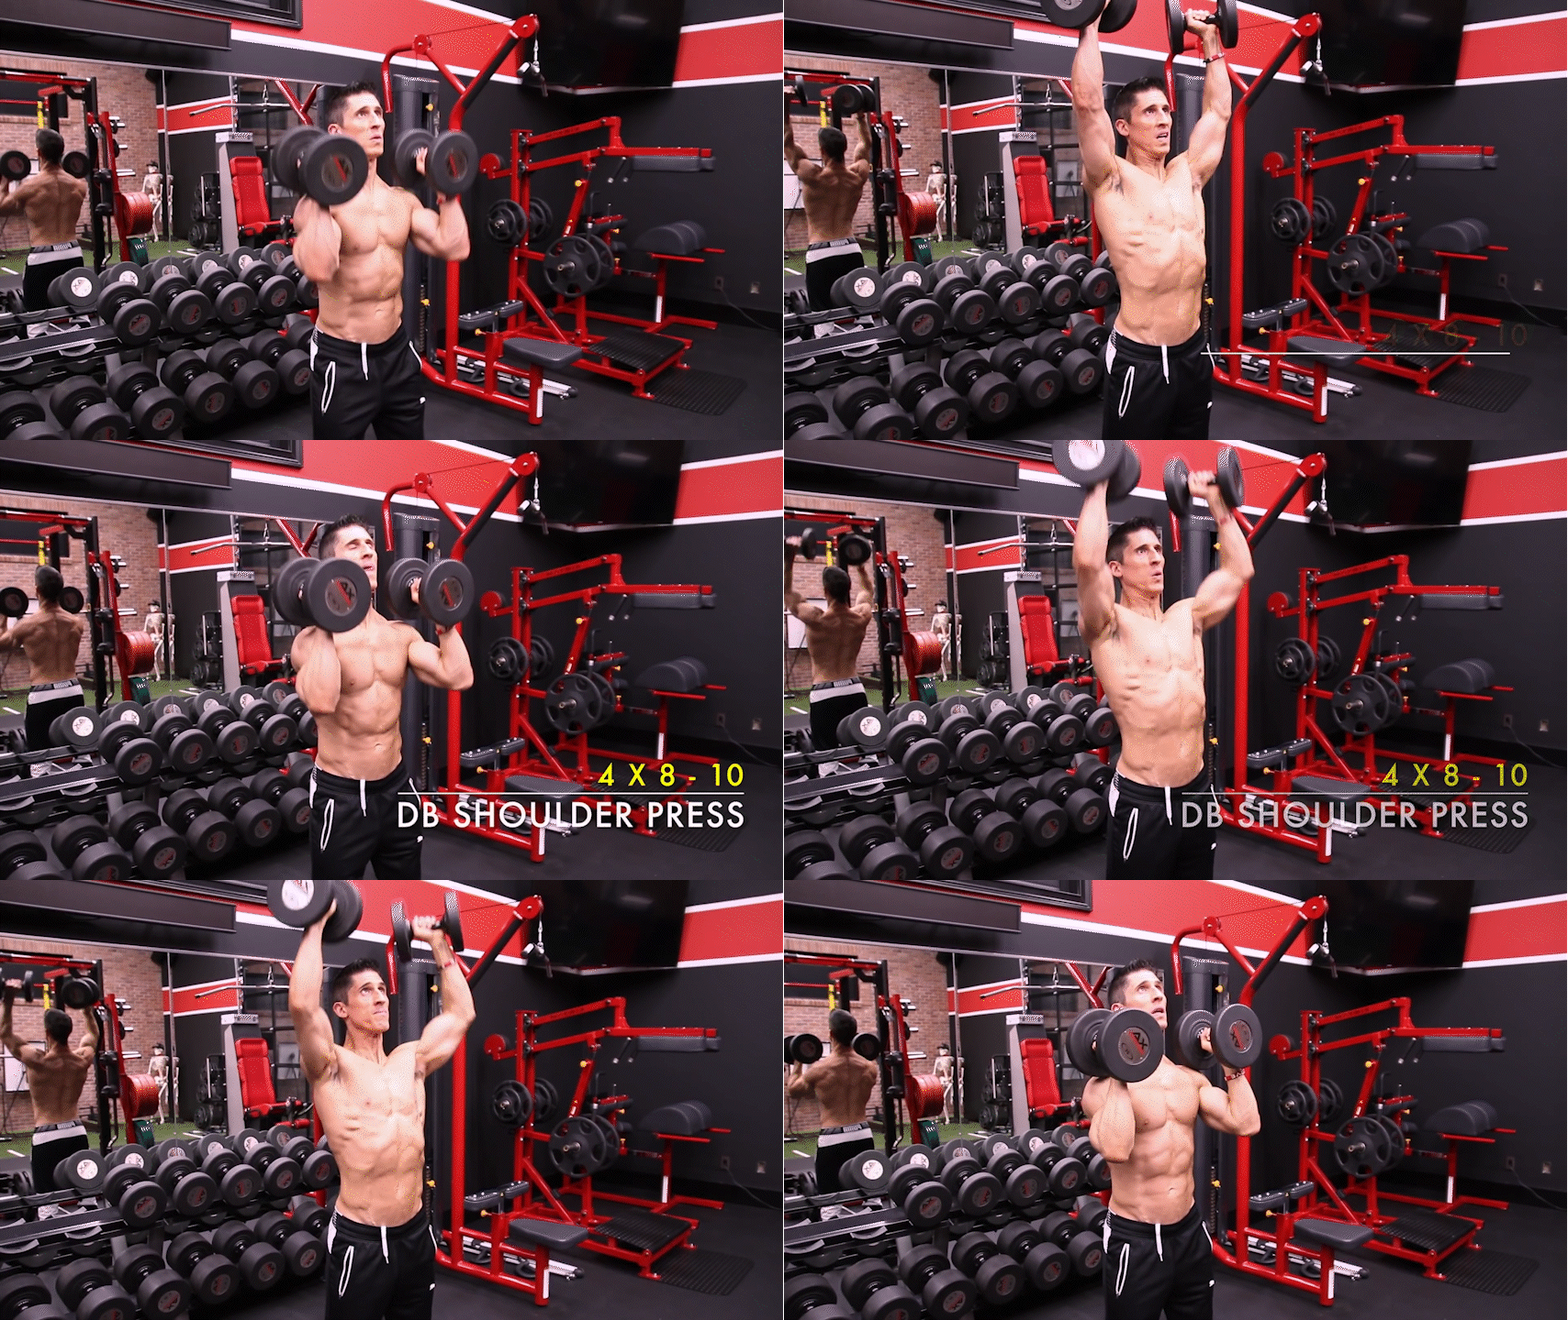
Shifting our focus to the shoulders, we introduce the Dumbbell Shoulder Press. While the barbell variation is a viable option, we prefer the Dumbbell Shoulder Press for this workout. Performing the exercise in a standing position, as opposed to a seated position, allows for better shoulder mechanics and avoids unnecessary restrictions caused by pushing the scapula back into the bench. Aim for four sets of 8 to 10 reps, slightly higher than the previous exercise, to stimulate muscle growth in the shoulders.
Exercise 4: 1 1/2 Side Lateral Raise
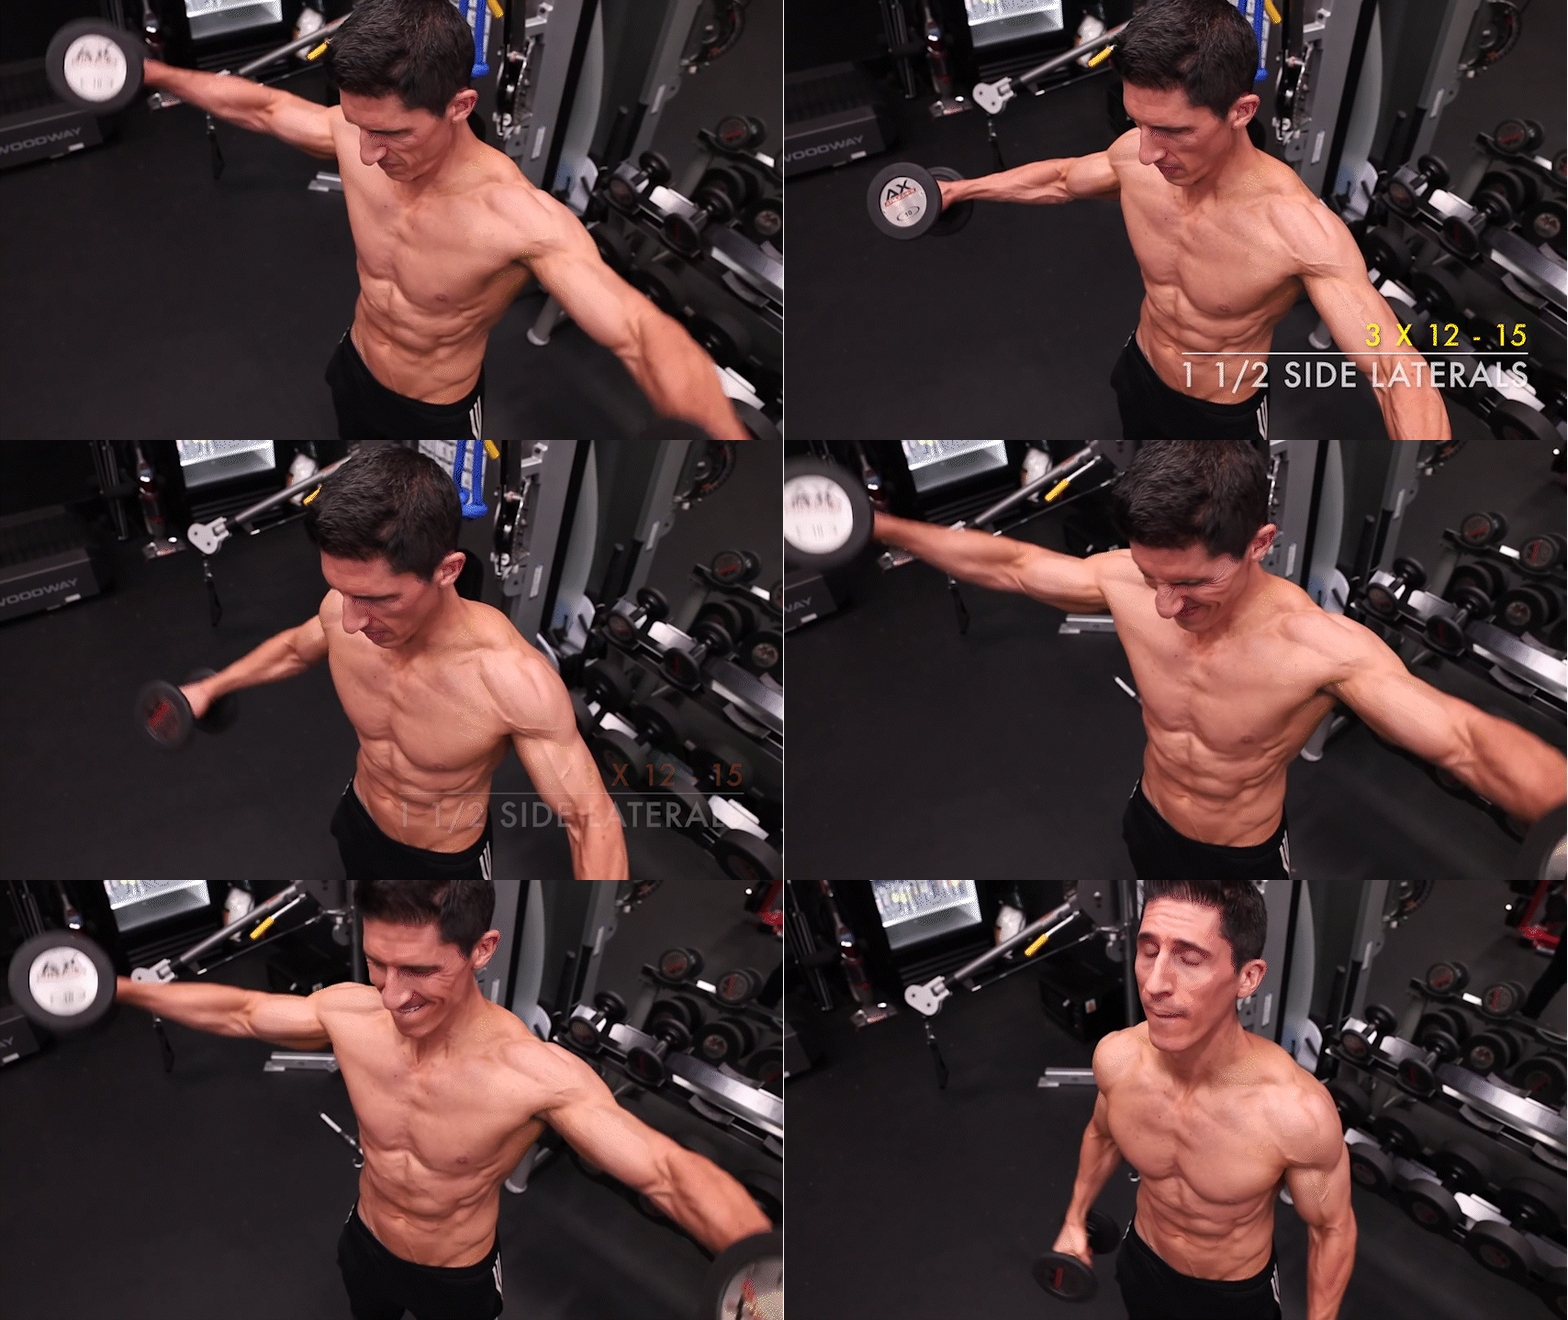
Next on our list is the 1 1/2 Side Lateral Raise, an exercise that specifically targets the middle deltoid. This exercise emphasizes hypertrophy by increasing the time under tension. The technique involves taking the weight up fully, coming down halfway, and then returning to the top position. By eliminating momentum and focusing on controlled contractions, we effectively engage the targeted muscle. Perform three sets of 12 to 15 reps to optimize the benefits of this exercise.
Exercise 5: Tricep and Bicep Superset
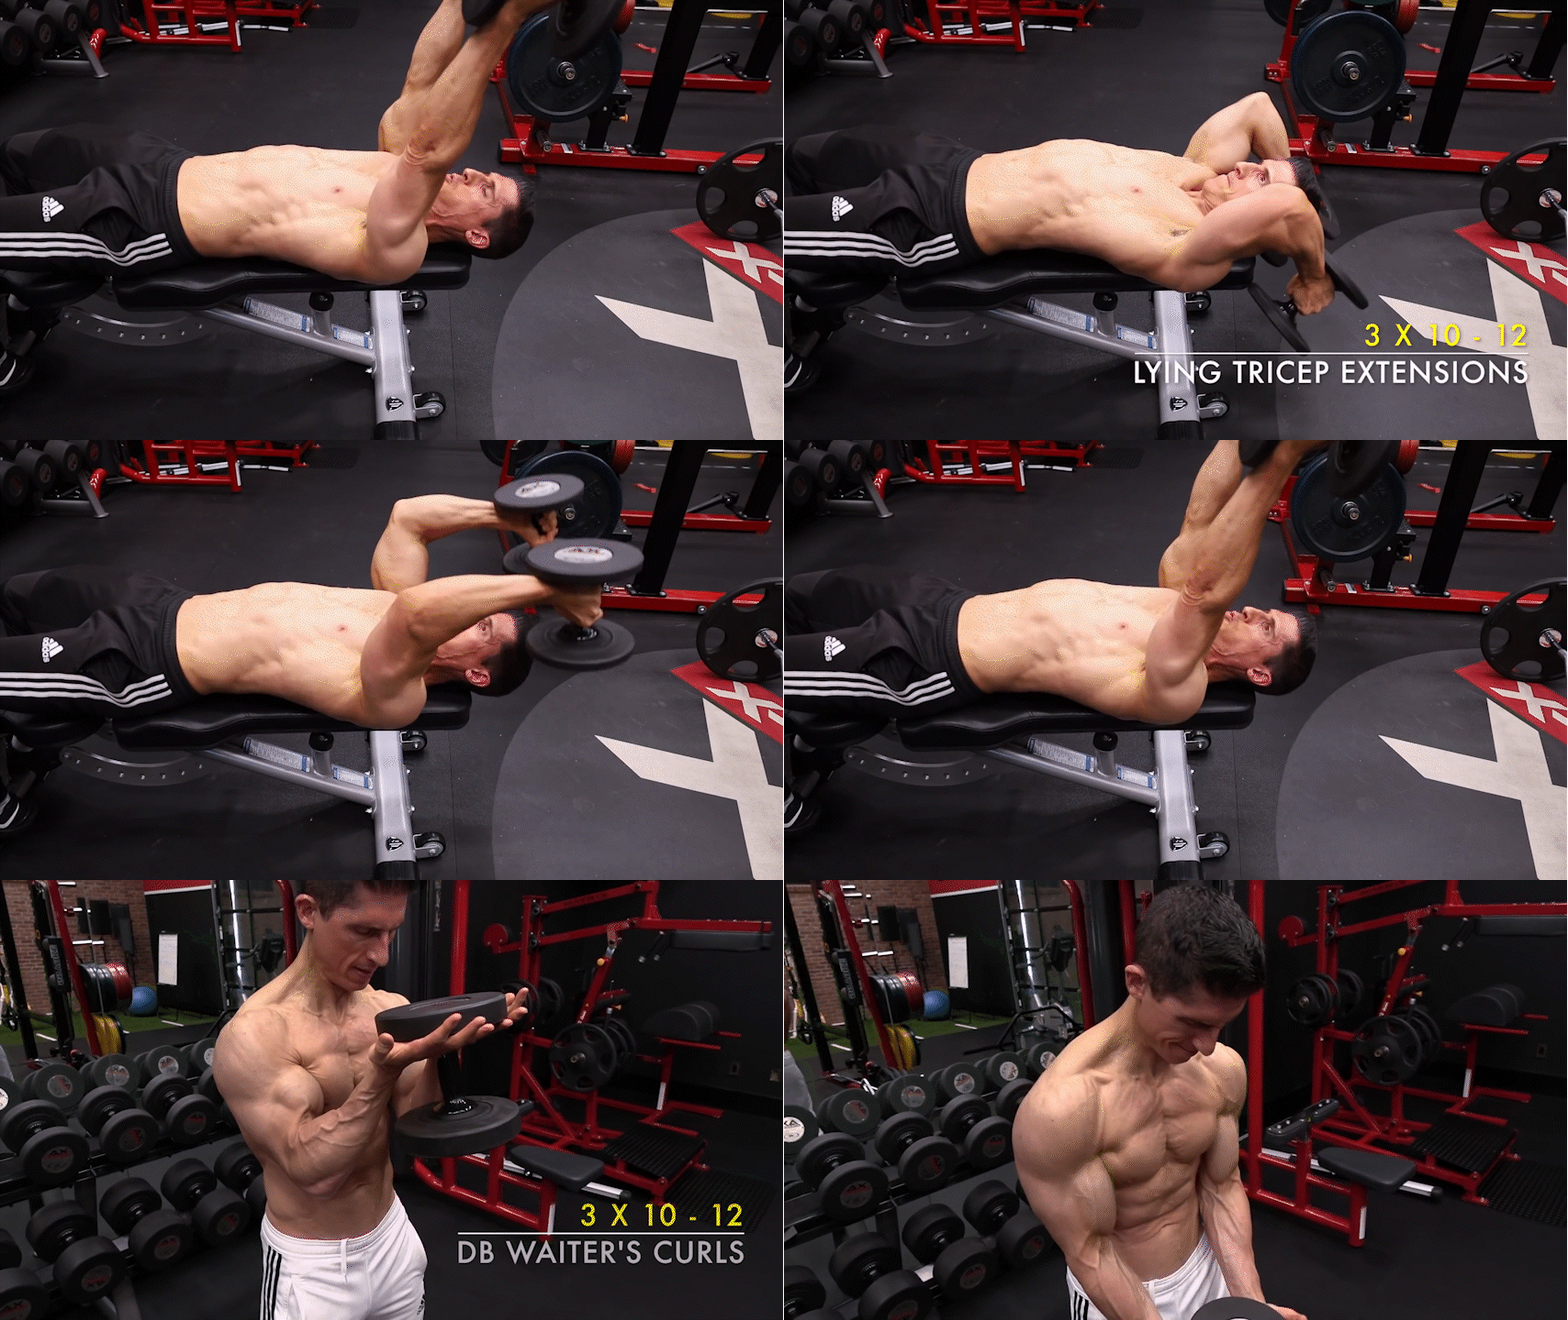
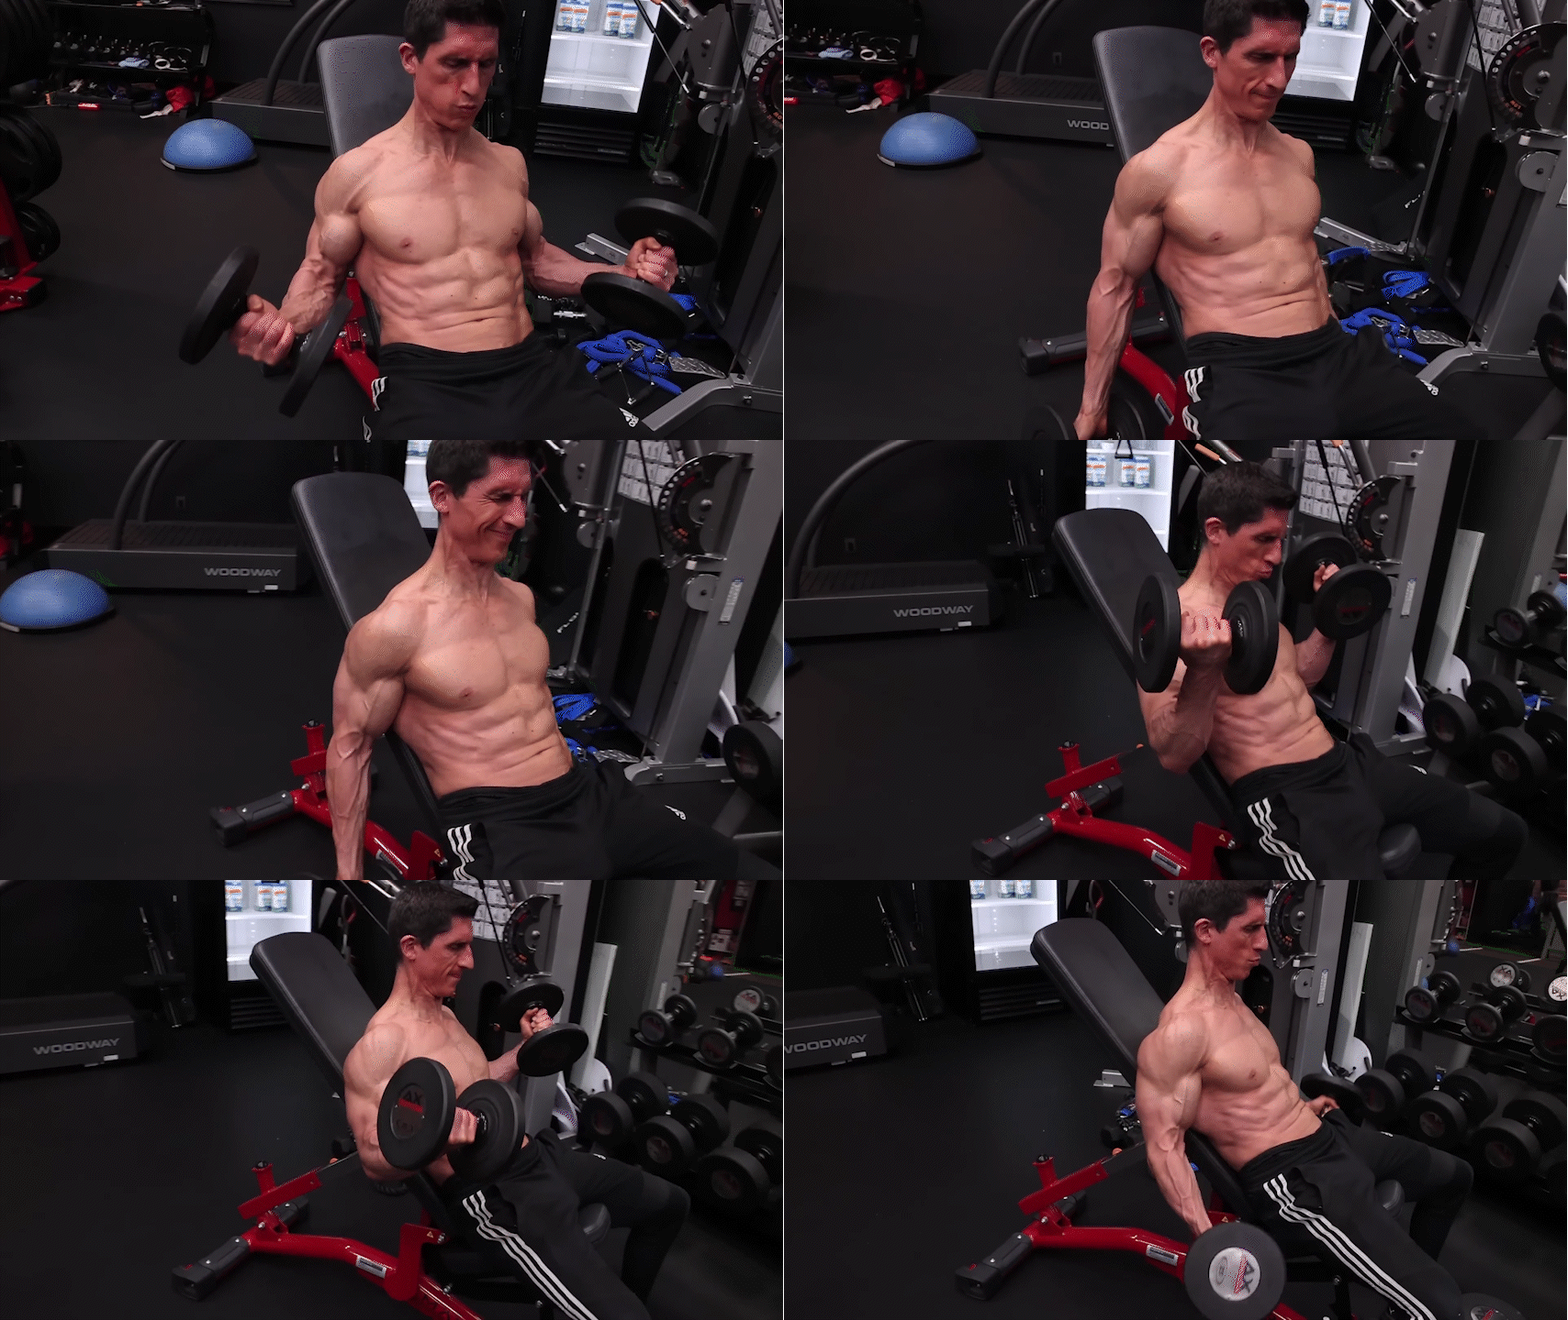
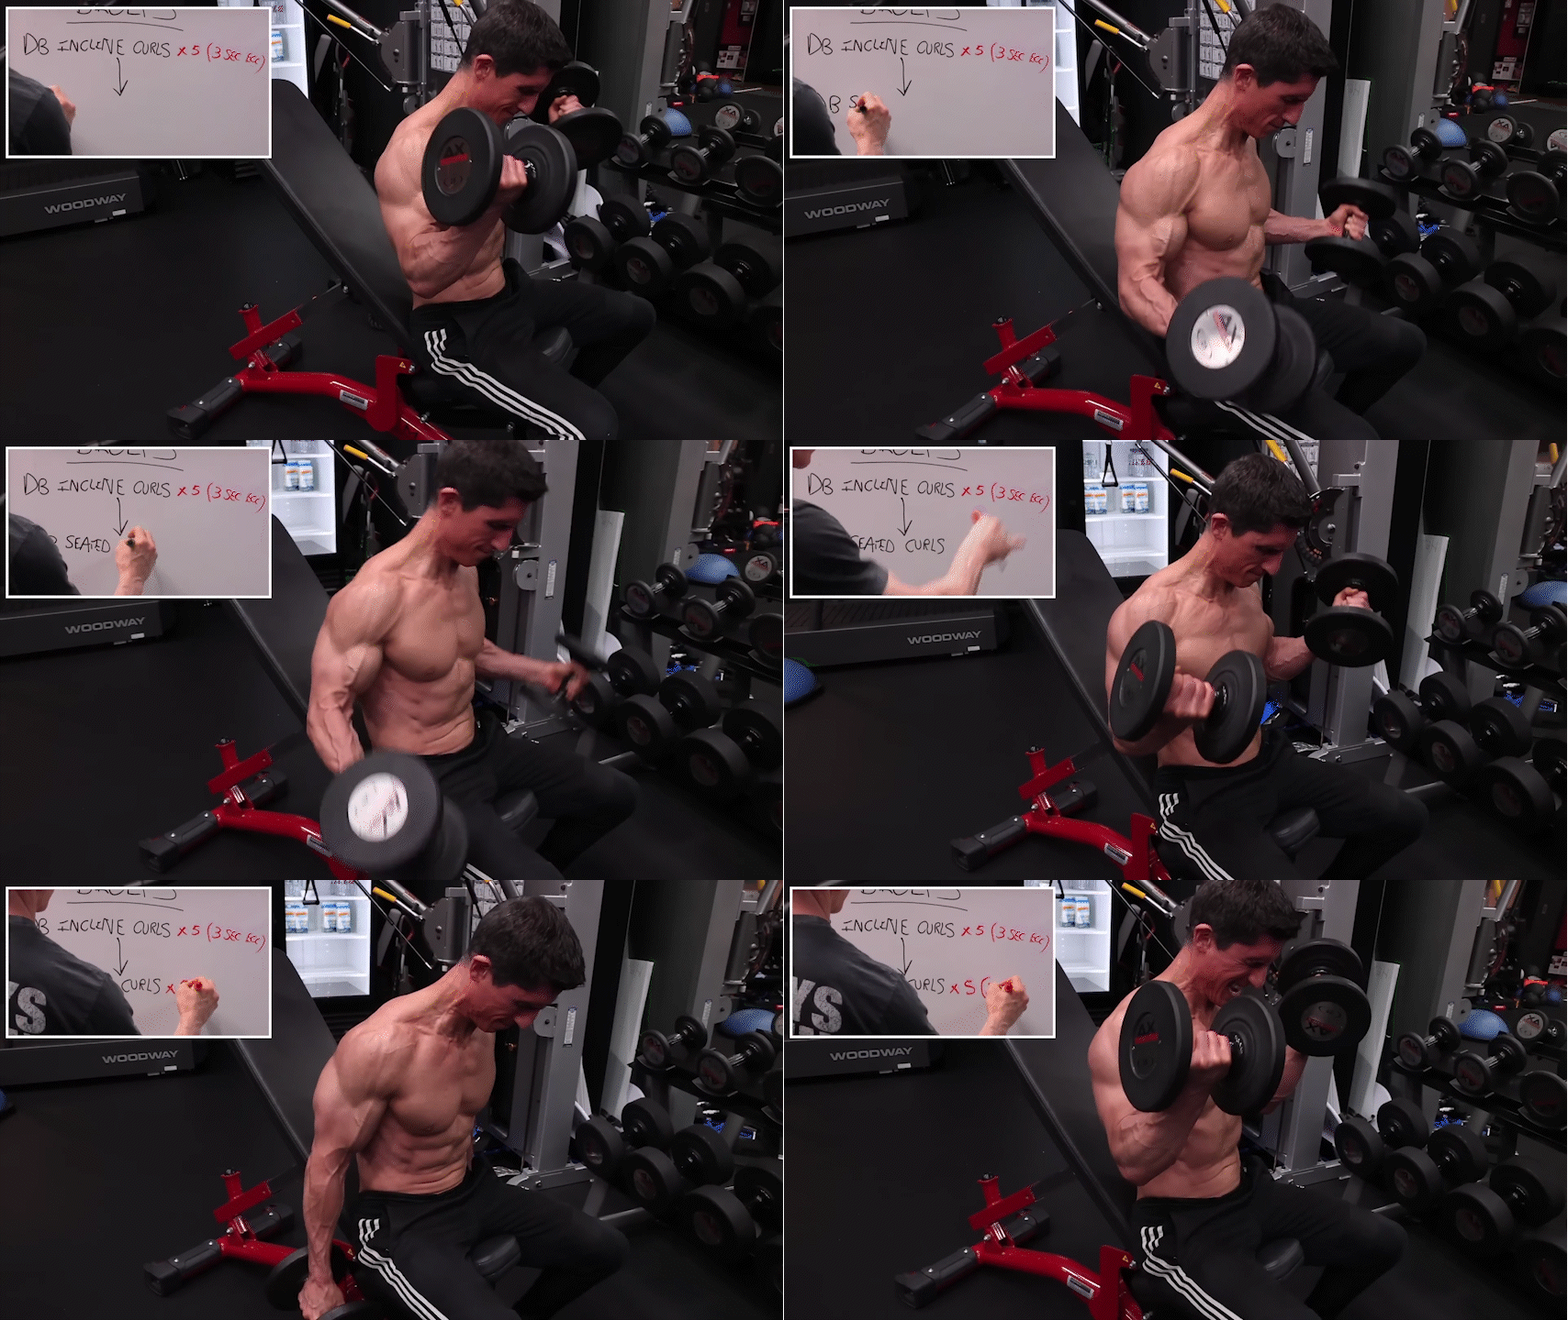
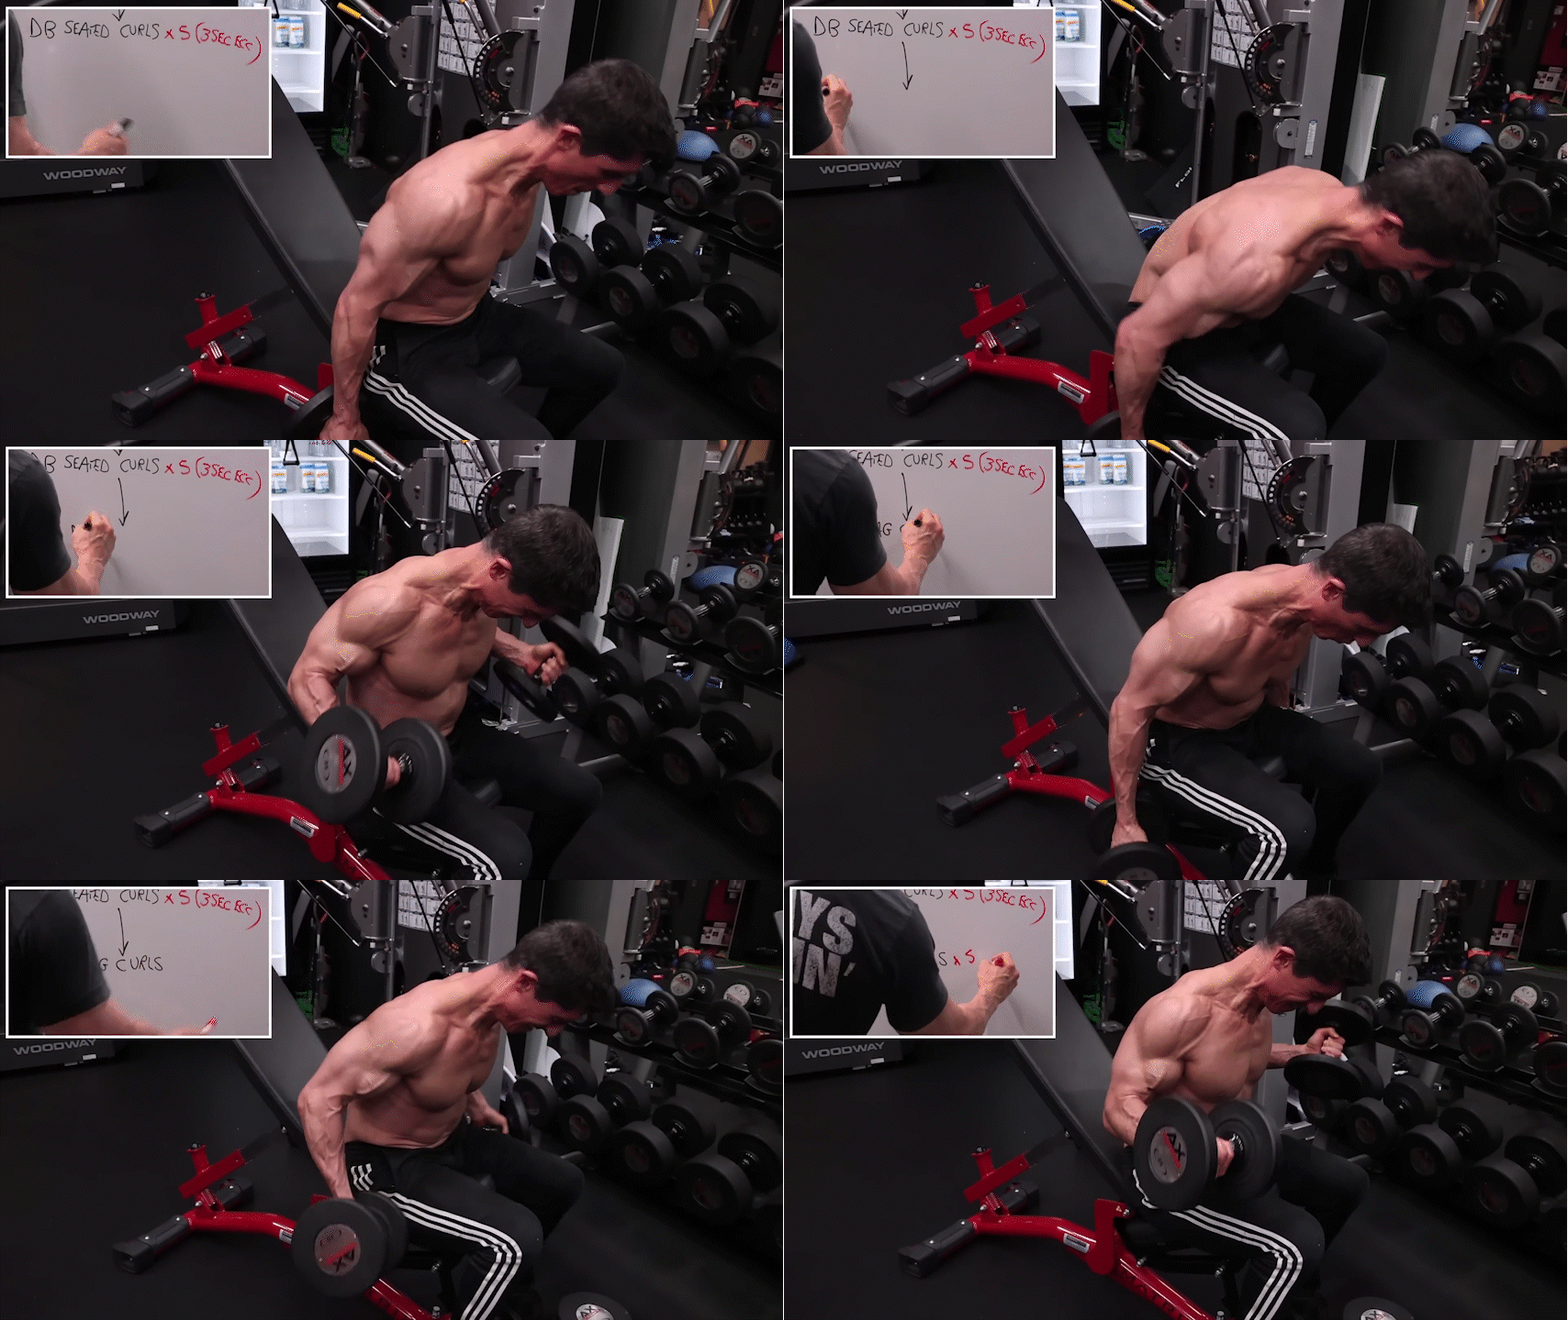
In this superset, we incorporate a tricep exercise alongside a bicep exercise, offering additional volume for both muscle groups without interfering with the primary push exercises. The first exercise is the Lying Tricep Extension, which primarily targets the long head of the triceps. Aim for three sets of 10 to 12 reps, taking the exercise to failure. Immediately following the tricep extension, move on to the Dumbbell Waiter’s Curl. This exercise provides a challenging workout for the biceps while maintaining a balance within the push routine. Perform three sets of 10 to 12 reps for both exercises.
Exercise 6: Rotator Cuff External Rotation
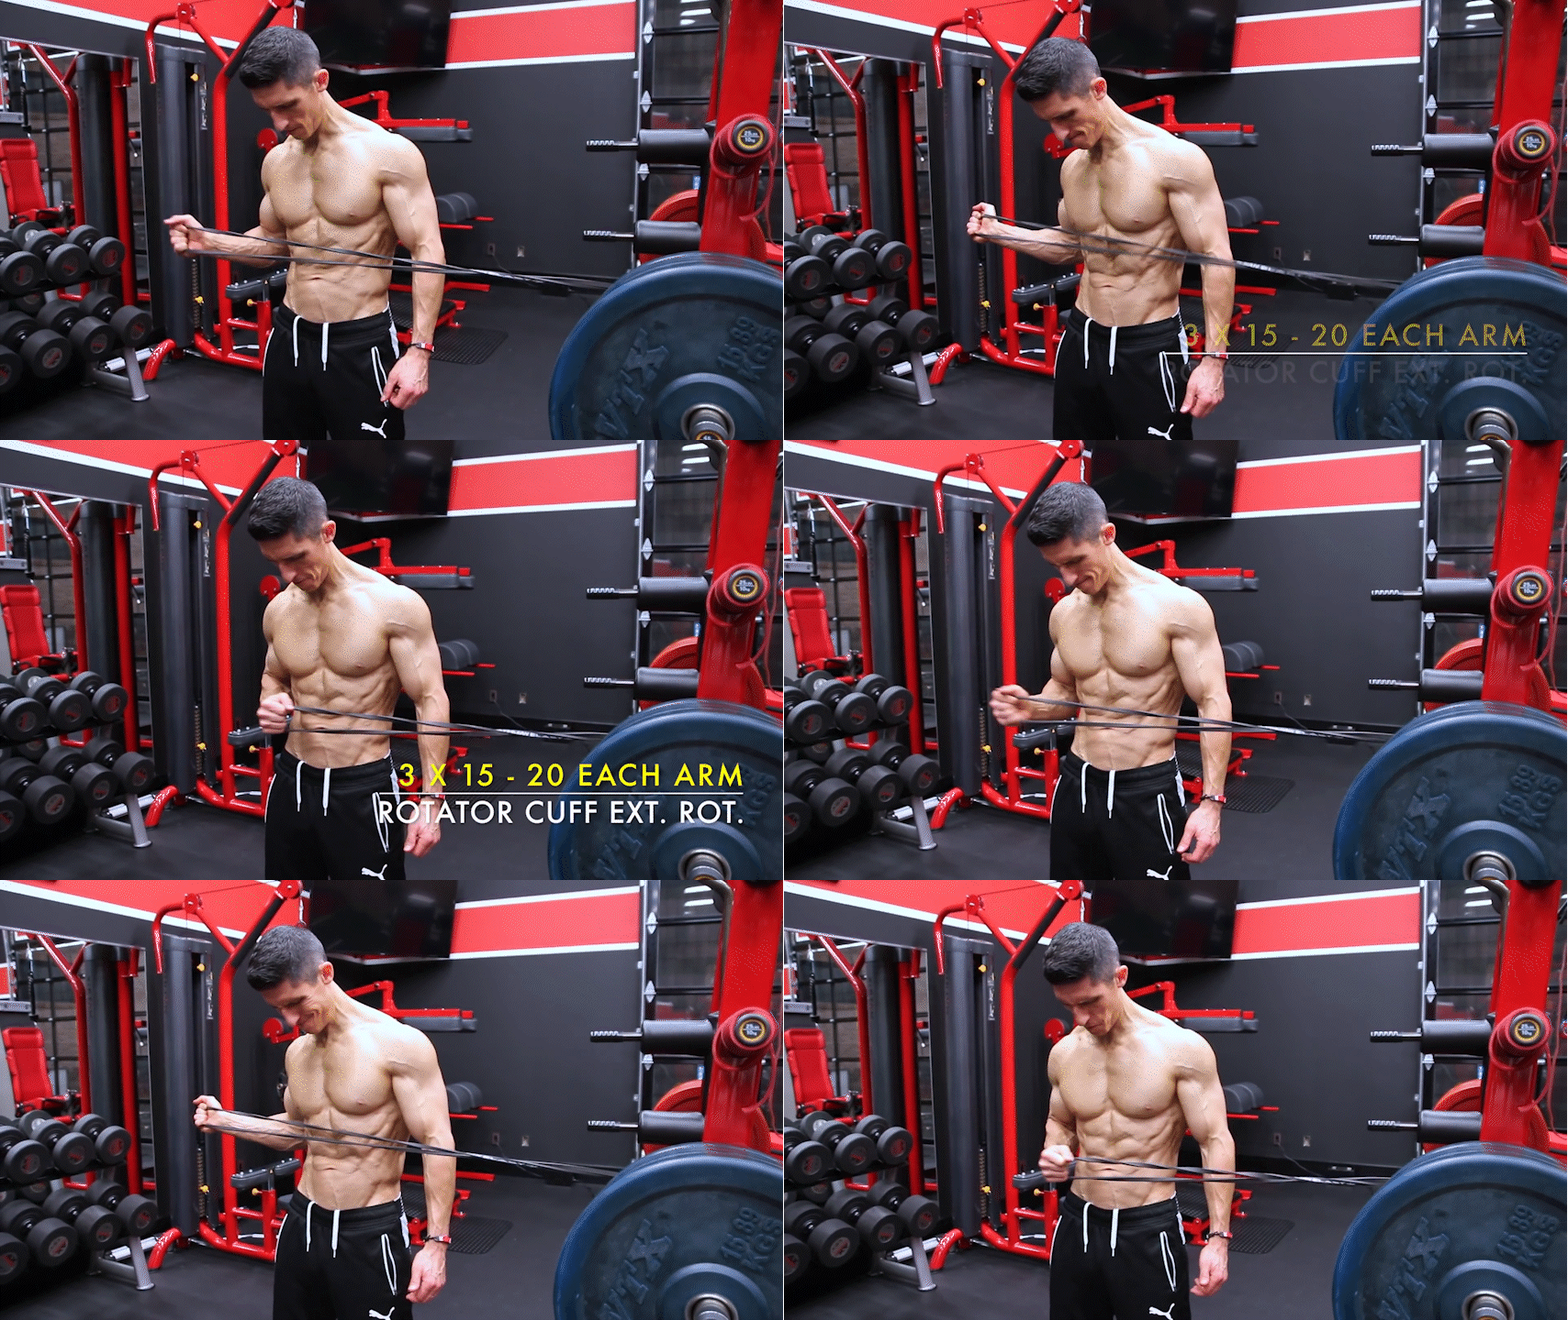
To complete the push workout, we need to pay attention to proper shoulder function and stability. The Rotator Cuff External Rotation exercise serves as a corrective exercise to strengthen the rotator cuff muscles and promote healthy shoulder movement. This exercise is simple yet crucial for preventing imbalances caused by the internal rotation involved in push workouts. Perform three sets of 15 to 20 reps with a resistance band to ensure proper activation of the external rotators.
Transition and Recap
Congratulations on completing the first push workout! Before moving on, let’s recap the exercises covered:
| Exercise | Sets and Reps |
|---|---|
| Barbell Bench Press | 4 sets of 4-6 reps |
| Hi-to-Low Crossover | 3 sets of 10-12 reps |
| Dumbbell Shoulder Press | 4 sets of 8-10 reps |
| 1 1/2 Side Lateral Raise | 3 sets of 12-15 reps |
| Tricep and Bicep Superset | 3 sets of 10-12 reps (each exercise) |
| Rotator Cuff External Rotation | 3 sets of 15-20 reps |
Now that we have covered the first push workout in detail, it’s time to transition to the second push workout. In the next section, we will explore a new set of exercises designed to complement and build upon the foundation laid in the first workout. Stay tuned for an invigorating continuation of your push routine.
The Perfect Push Workout: Push Two
Exercise 1: Overhead Barbell Press
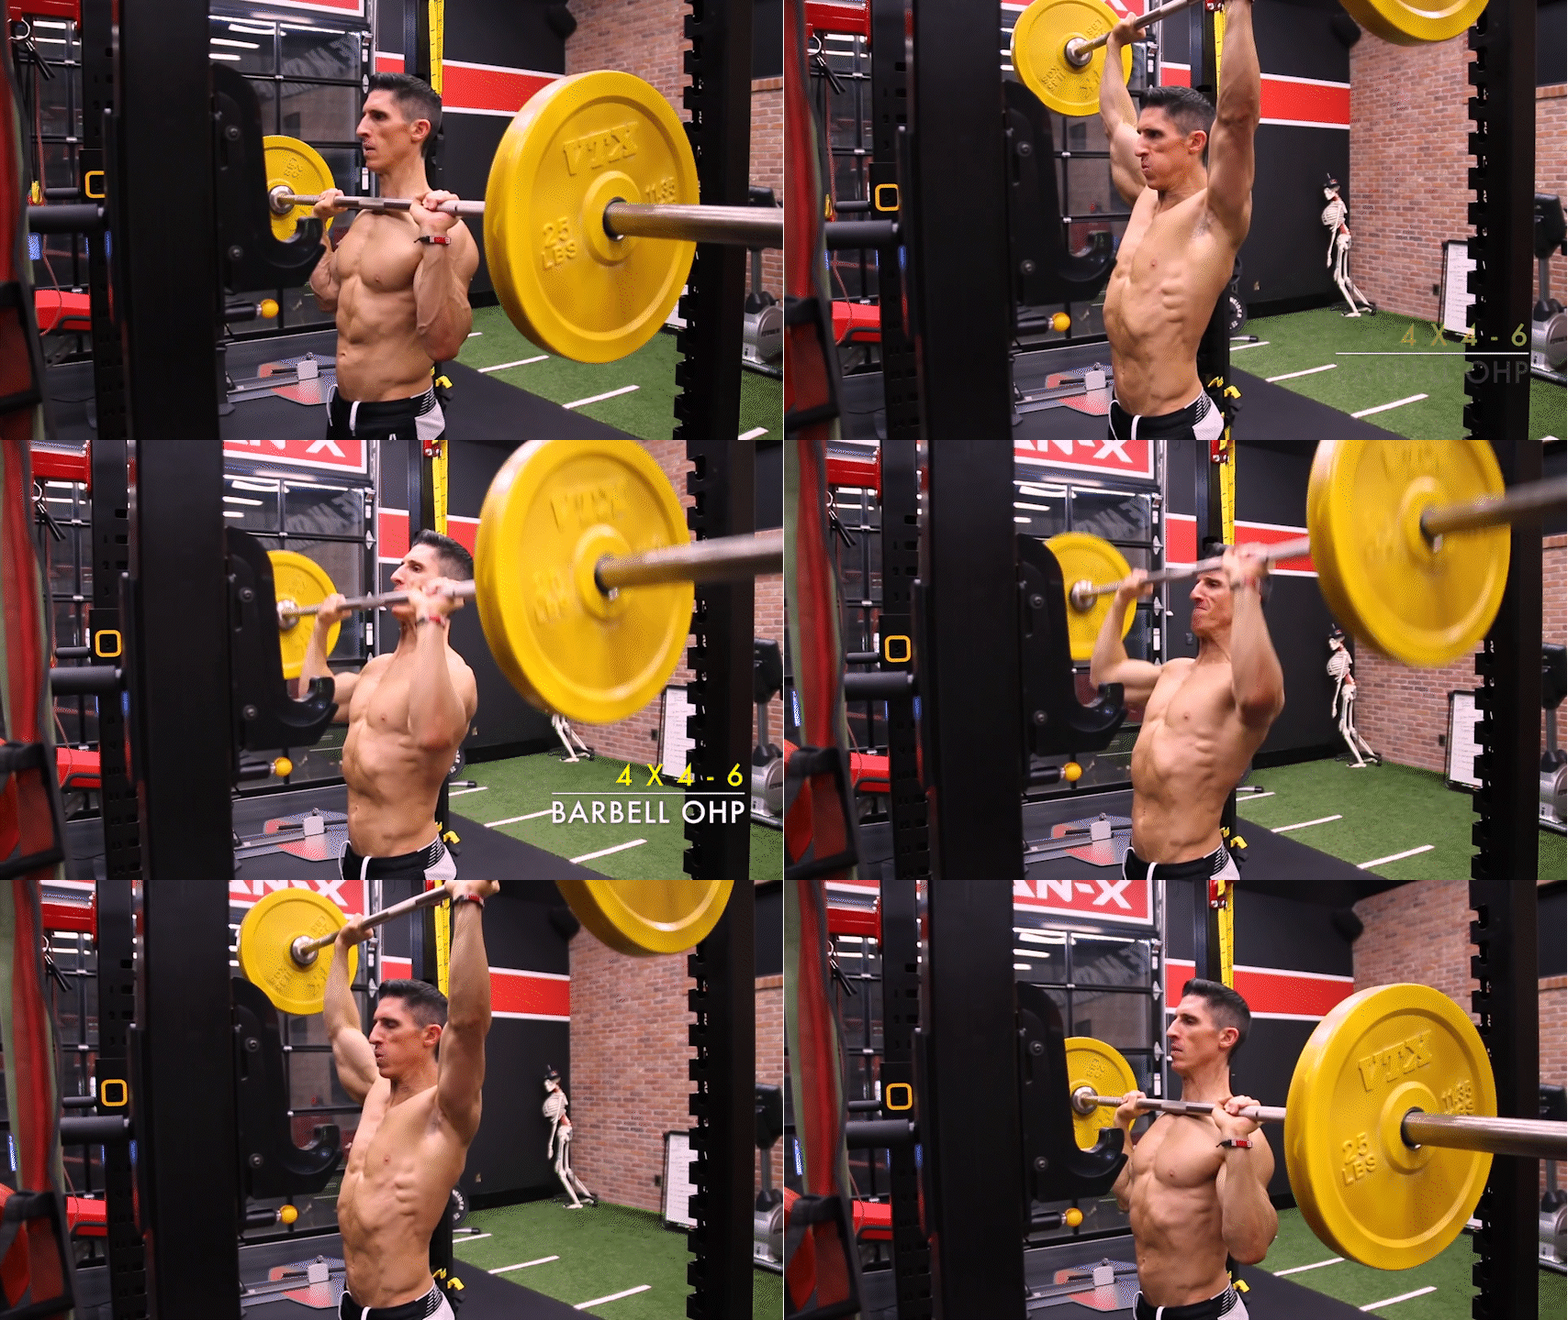
We begin Push Two with the Overhead Barbell Press. This exercise serves as a compound movement that focuses on building strength and driving hypertrophy in the triceps, shoulders, and chest. The Overhead Barbell Press allows for a greater load to be used compared to its dumbbell counterpart. Aim for four sets of four to six reps, leaving one to two reps in the tank. This rep range ensures sufficient intensity while avoiding failure. As you progress, remember to adjust the weights accordingly to maintain proper form and stay within the recommended rep range.
Exercise 2: Dumbbell Underhand Bench Press
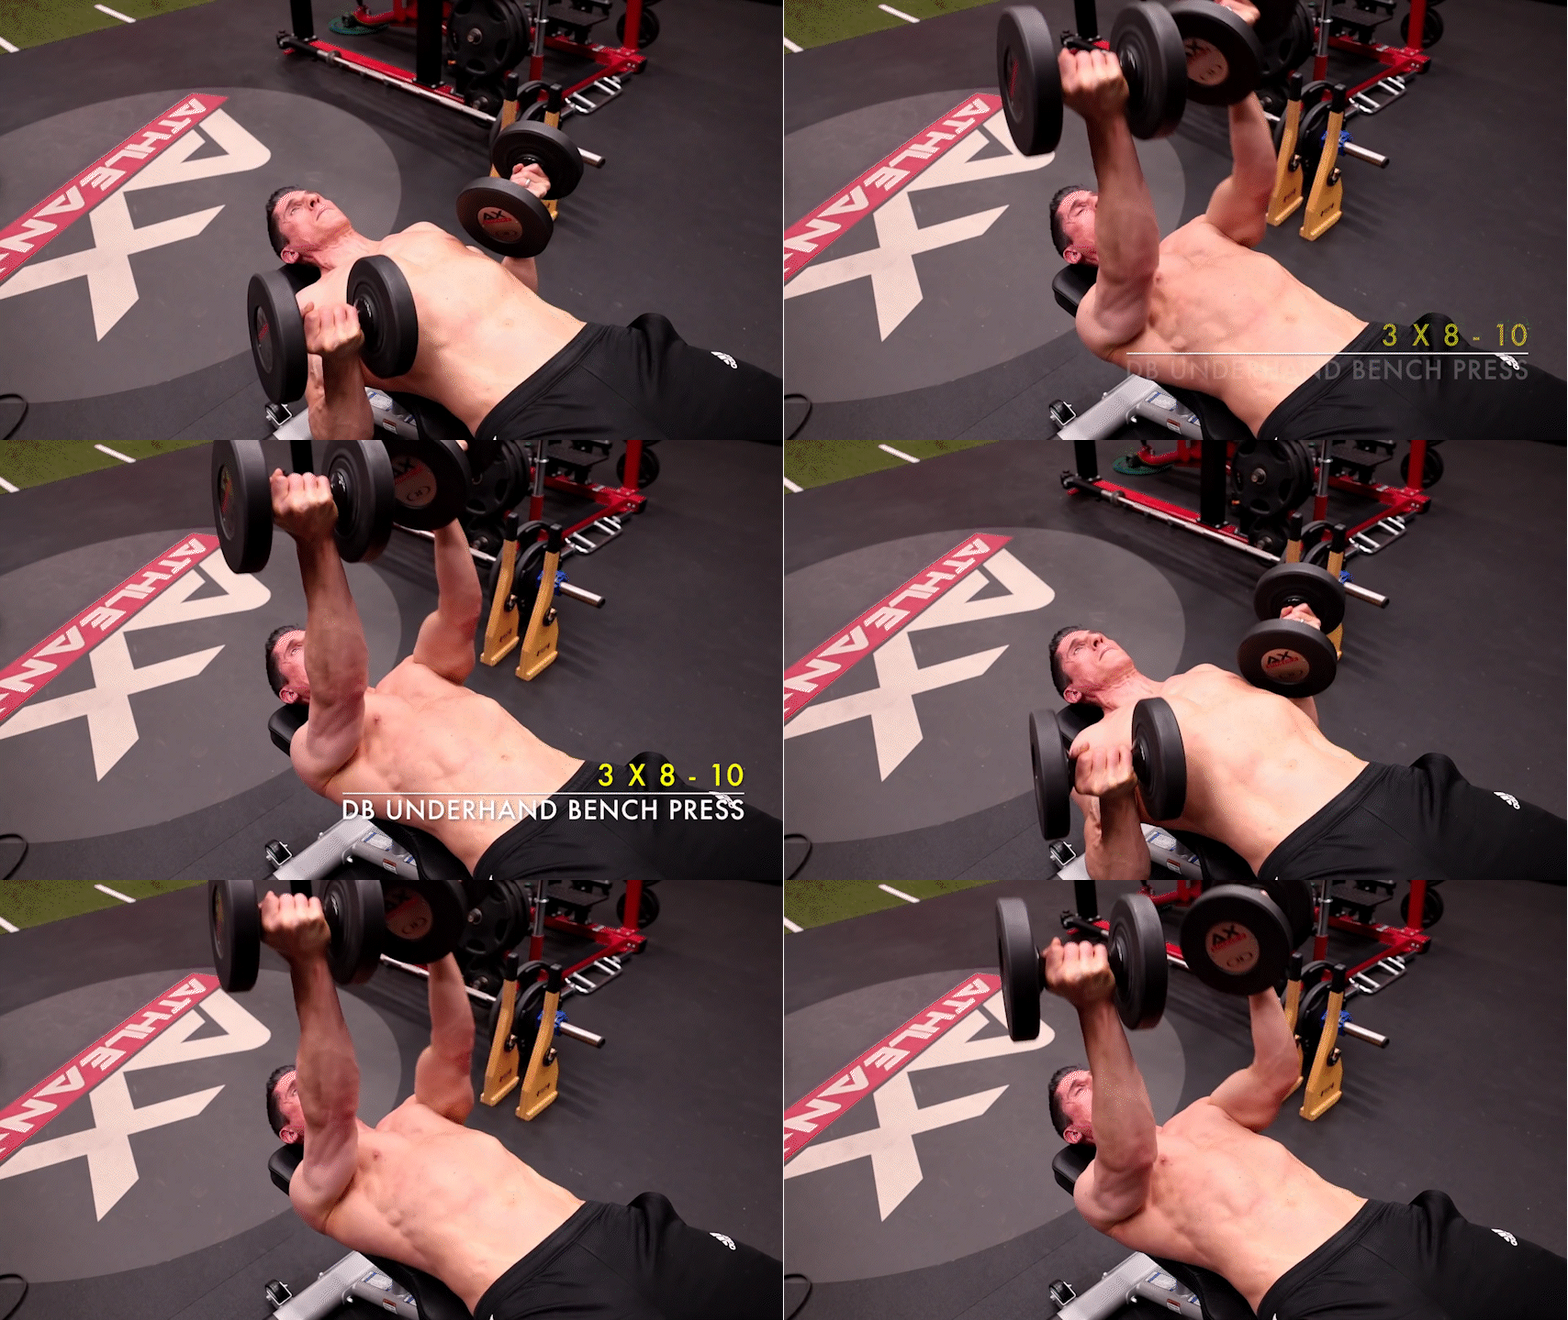
Moving on to the next exercise, we introduce the Dumbbell Underhand Bench Press. This variation specifically targets the upper chest while reducing stress on the shoulders compared to the Incline Dumbbell Bench Press. Performing the exercise with an underhand grip engages the upper chest muscles effectively. Aim for four sets of eight to ten reps to optimize muscle growth in this area. Remember to maintain stability and control throughout the movement, focusing on the mind-muscle connection.
Exercise 3: Abduction Row
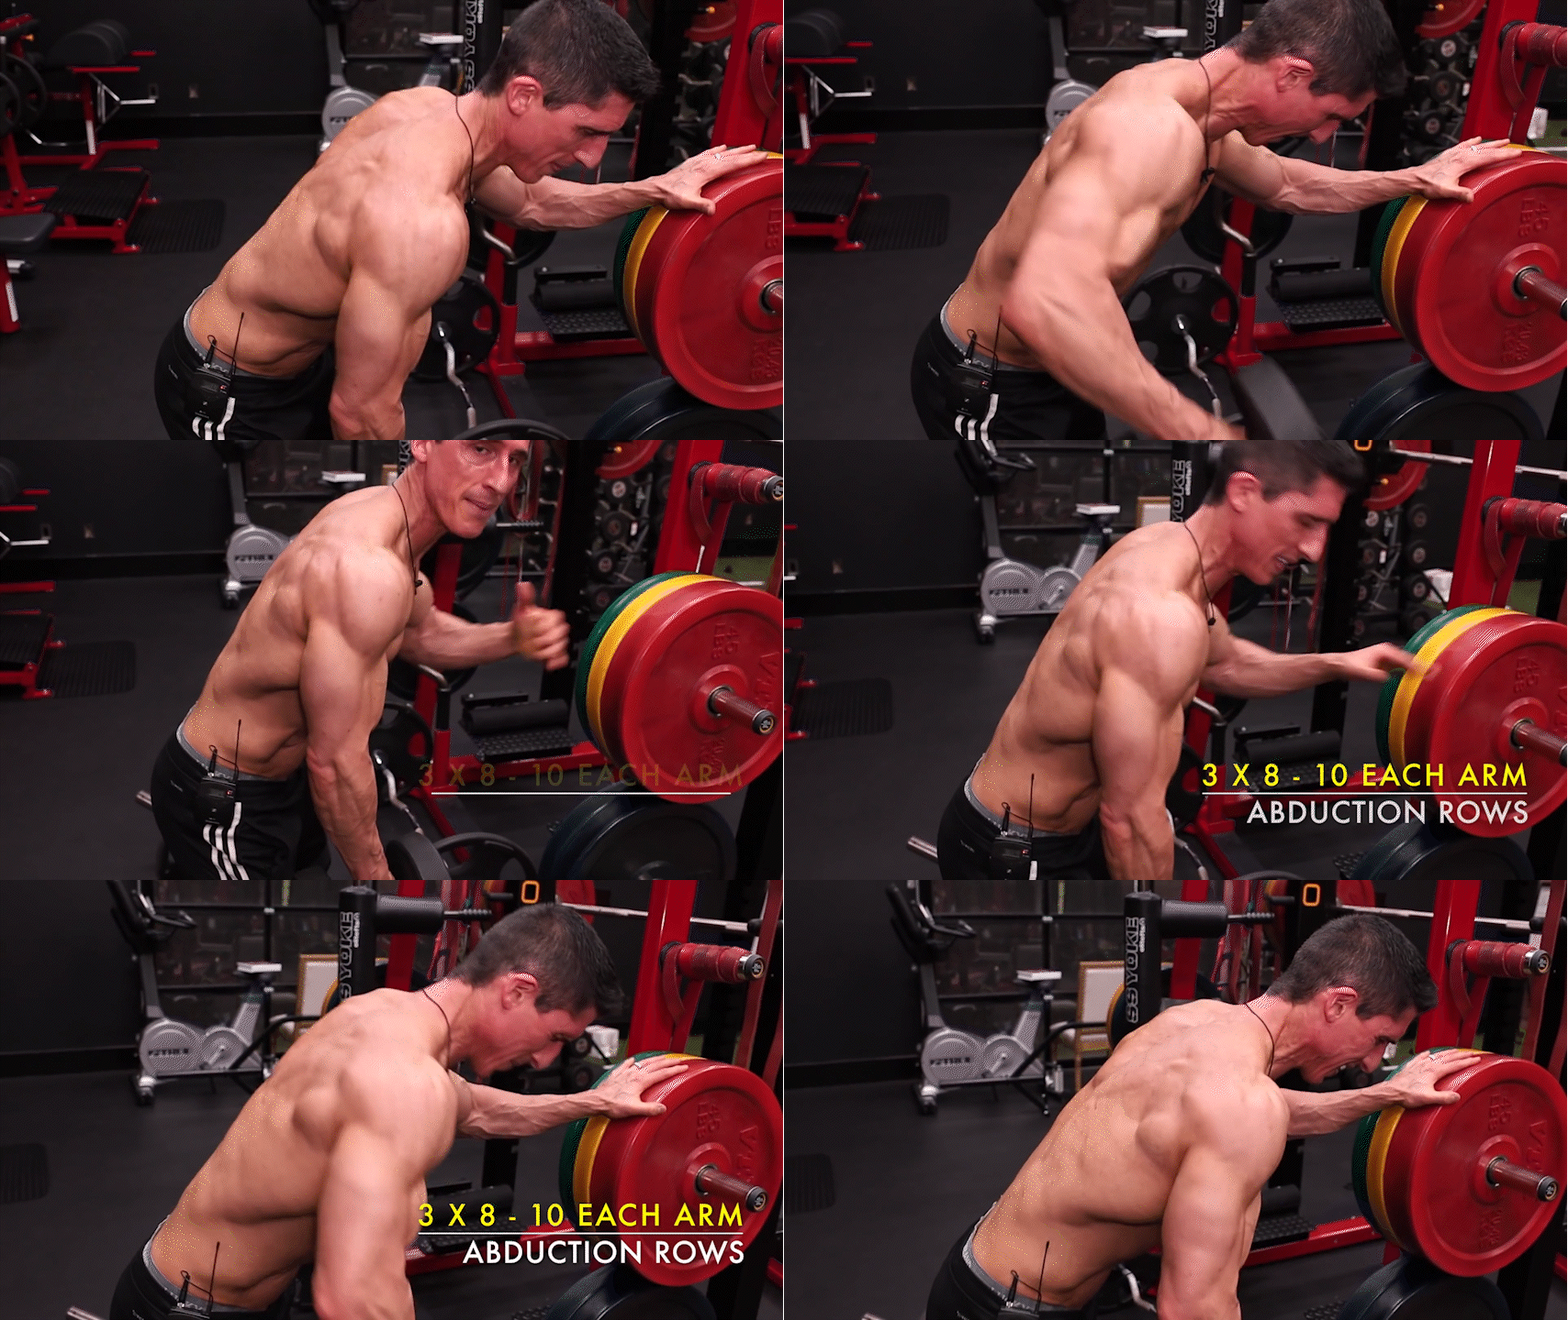
Now, we introduce a unique inclusion in the push workout—Abduction Row. Traditionally considered a pulling exercise, this movement is strategically incorporated on push day to target the middle and rear deltoids while offsetting accumulated fatigue. The Abduction Row involves driving the arm back and out, focusing on scapular abduction. Perform three sets of eight to ten reps, ensuring proper scapular control and tension in the targeted muscles. Maintain a slight forward lean to maximize the activation of the middle and rear deltoids.
Exercise 4: Dumbbell Floor Fly
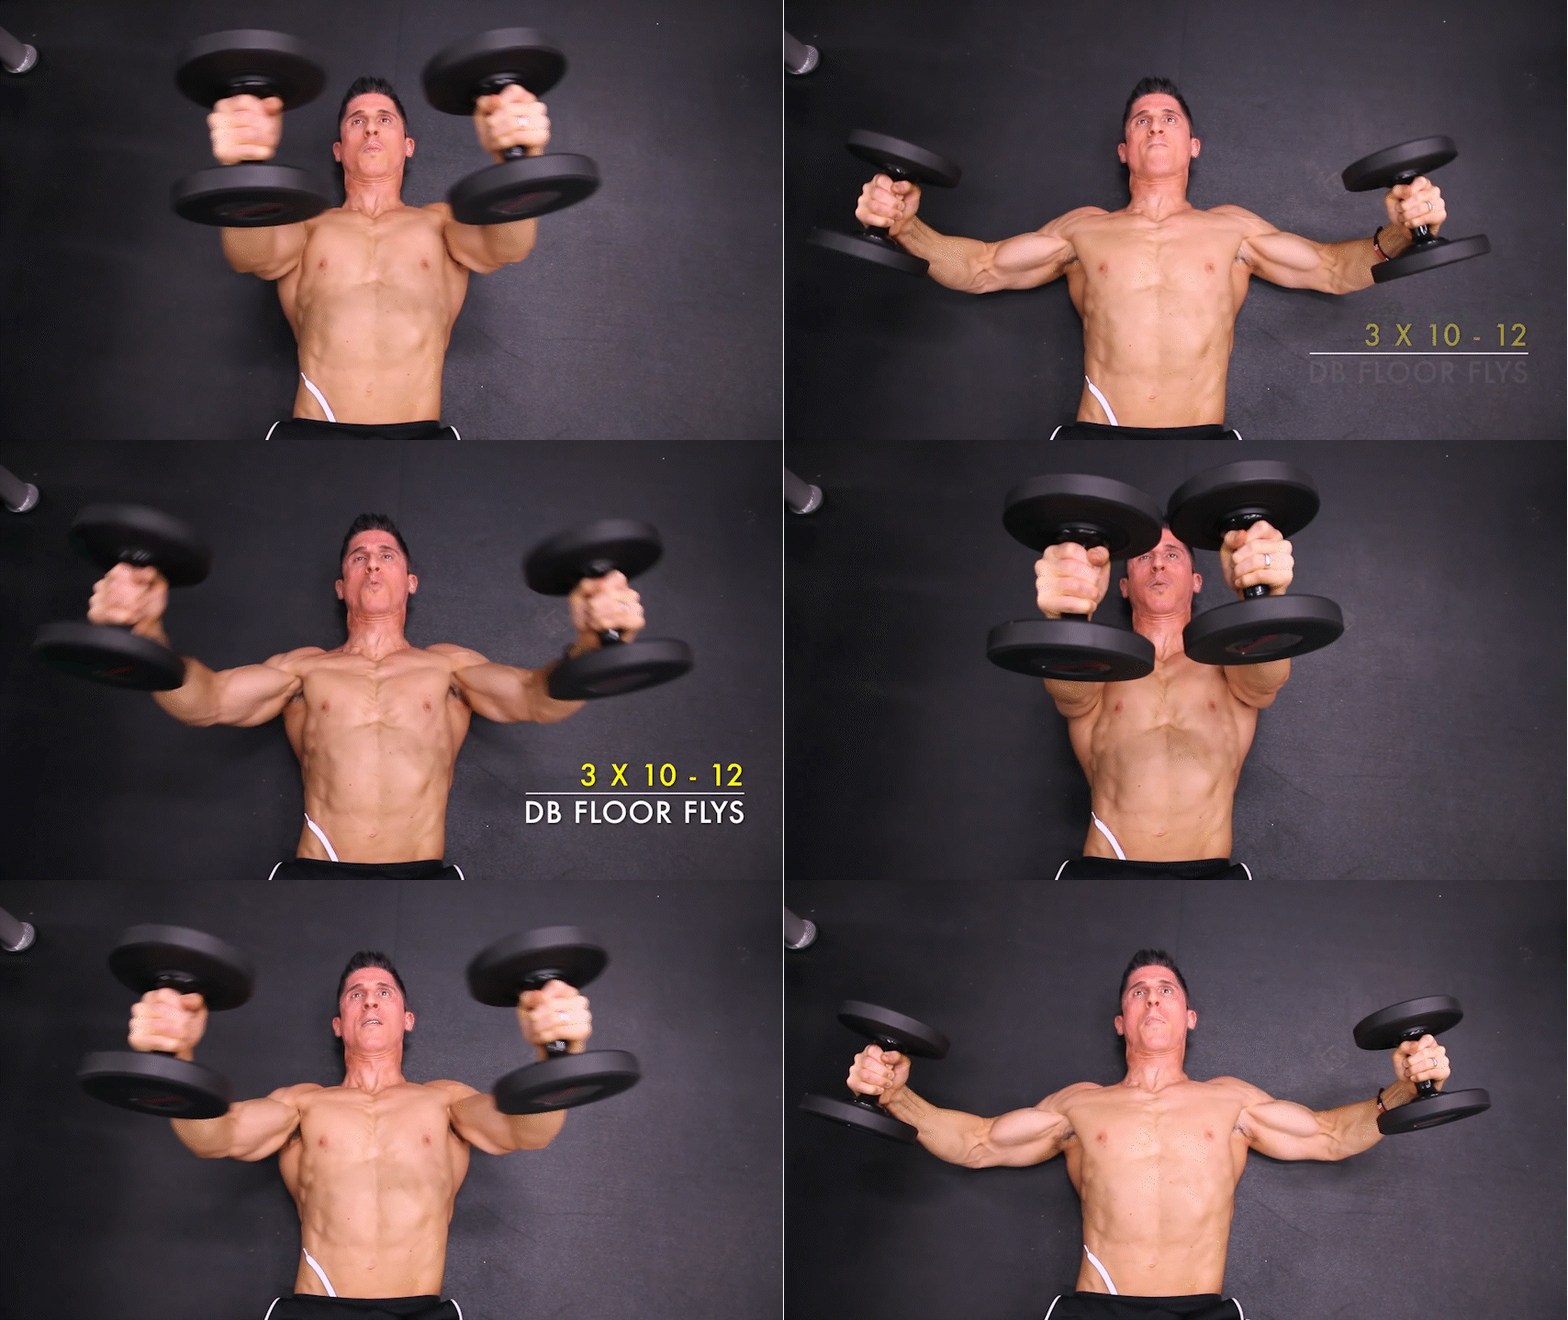
The Dumbbell Floor Fly takes center stage in this push workout. This exercise offers several advantages over the unsupported version, providing a safer and more controlled environment. By performing the exercise on the floor, we ensure that the anterior shoulder capsule is not overextended, reducing the risk of injury. The Dumbbell Floor Fly also allows for eccentric overload, a key driver of hypertrophy. Aim for three sets of ten to twelve reps, focusing on a controlled range of motion and tempo throughout the exercise.
Exercise 5: Tricep and Bicep Superset (Heavier Focus)

Next, we delve into a superset that places a heavier focus on tricep and bicep exercises, allowing for additional volume and strength development. The first exercise in this superset is the Close Grip Bench Press. By narrowing the grip, we target the medial and lateral heads of the triceps, promoting their growth and strength. Perform three sets of six to eight reps, gradually increasing the weights as you progress. Immediately after each set of Close Grip Bench Press, move on to a dumbbell curl exercise of your choice. Select a weight that allows for three sets of ten to twelve reps, focusing on quality contractions and controlled movements.
Exercise 6: Pushup Plus
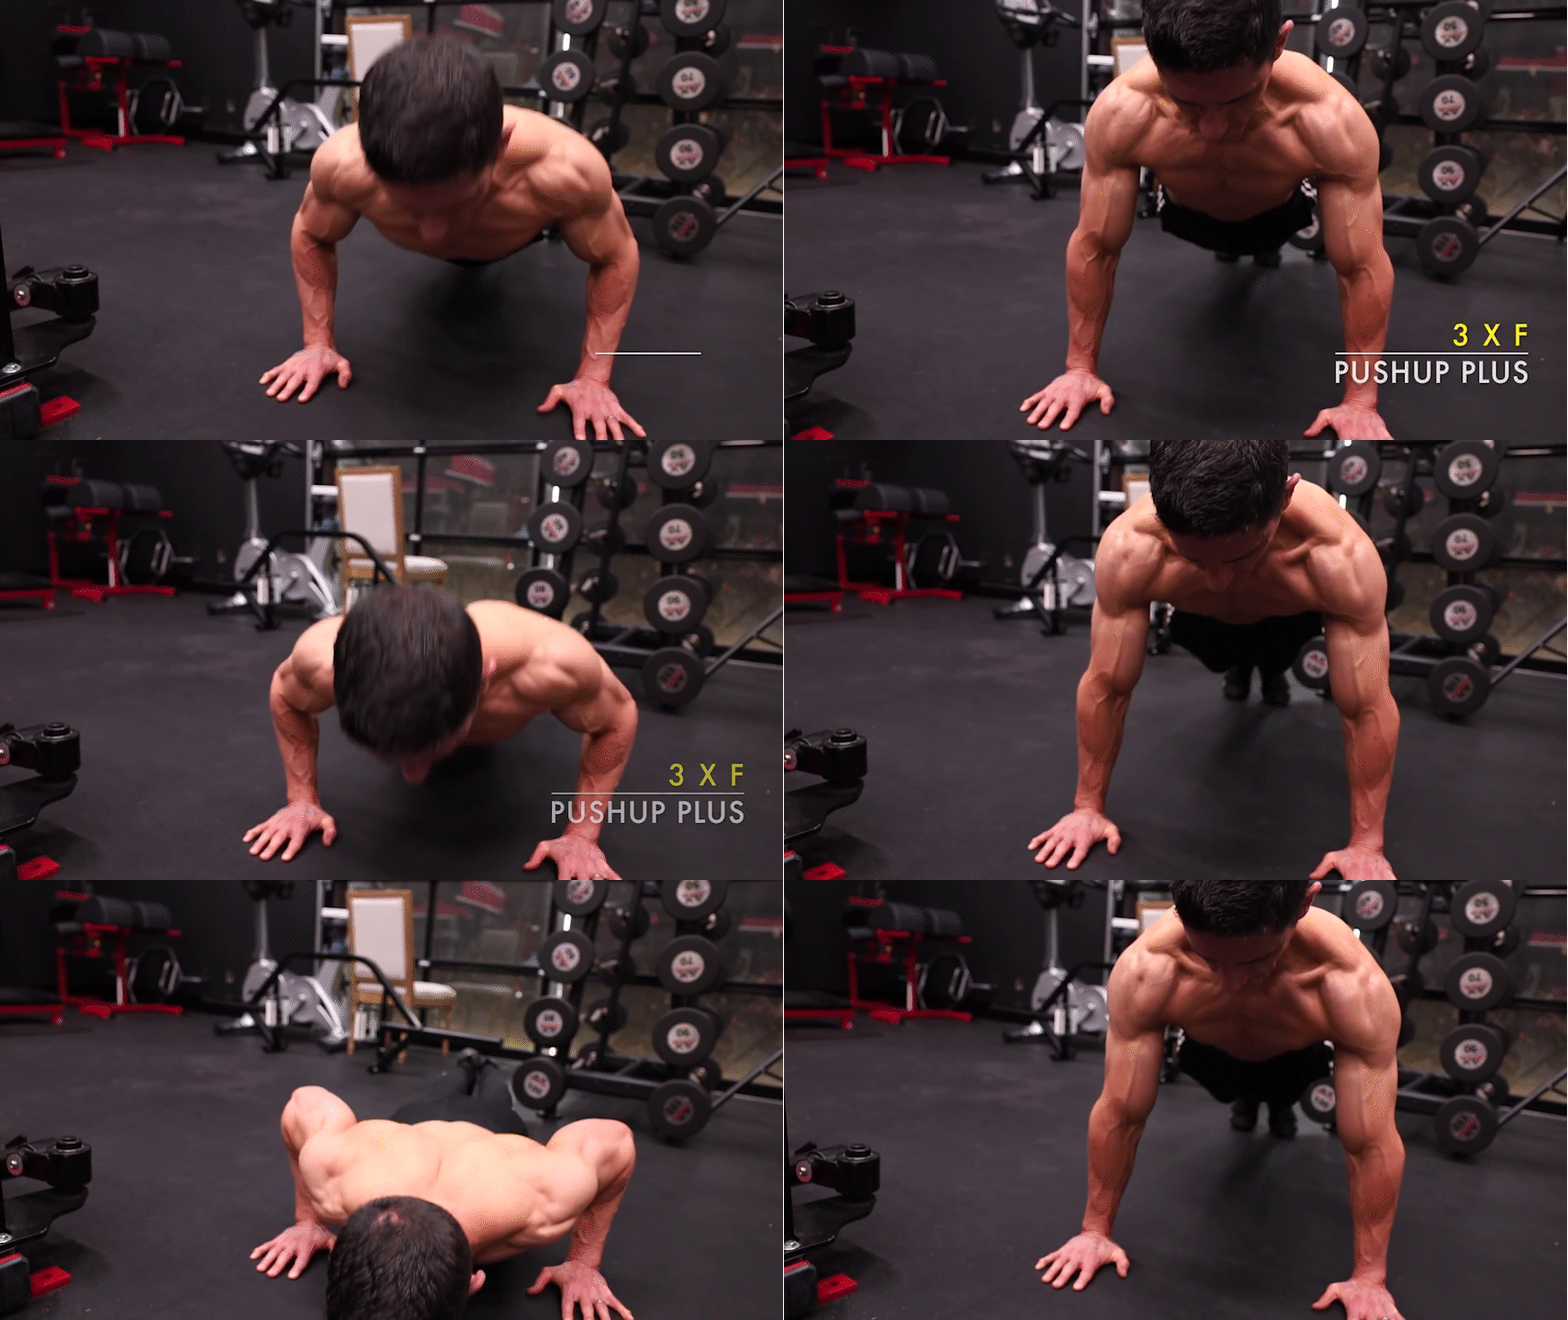
To conclude Push Two, we introduce the Pushup Plus exercise. This exercise serves a dual purpose—it enhances scapular control and provides additional stimulation to the chest muscles. Start in a pushup position and proceed to push through as hard as you can, allowing your shoulder blades to wrap around your body into protraction. This movement engages the serratus anterior muscles and promotes stability. Perform three sets to failure, focusing on proper mechanics and maintaining tension throughout the exercise.
Transition and Recap
Congratulations on completing the second push workout! Before moving on, let’s recap the exercises covered:
| Exercise | Sets and Reps |
|---|---|
| Overhead Barbell Press | 4 sets of 4-6 reps |
| Dumbbell Underhand Bench Press | 4 sets of 8-10 reps |
| Abduction Row | 3 sets of 8-10 reps |
| Dumbbell Floor Fly | 3 sets of 10-12 reps |
| Tricep and Bicep Superset | |
| – Close Grip Bench Press | 3 sets of 6-8 reps |
| – Dumbbell Curl | 3 sets of 10-12 reps |
| Pushup Plus | 3 sets to failure |
These exercises are part of the Push Two workout and aim to target the triceps, shoulders, and chest while promoting muscle growth and strength.