Last updated: July 30, 2026
Quick Answer
Chair and standing workouts for seniors are structured, low-impact routines that build strength, balance, and circulation without requiring you to get down to the floor. A safe weekly plan combines 2-3 seated strength sessions (leg extensions, seated marches, arm curls) with 2-3 supported standing sessions (calf raises, sit-to-stands, side leg lifts), each 15-30 minutes. Done consistently, these workouts improve posture, reduce fall risk, and preserve independence, even for adults with arthritis, balance problems, or limited mobility.[1][2][8]
Key Takeaways
- Full-body training is possible from a chair. Seated routines can target legs, core, arms, and back with proper form and pain-free range of motion.[1]
- Aim for 4-5 short sessions per week, mixing seated and supported-standing days for balance and strength.
- A sturdy armless chair on a non-slip surface is the single most important piece of equipment.[1][9]
- Supported standing exercises (holding a chair or counter) are the safest way to train balance if you're at risk of falls.[6][7]
- Visible results appear in 4-8 weeks with consistent practice: easier sit-to-stand, better posture, less stiffness.[2]
- Chair yoga focuses on flexibility and breath; chair aerobics raises heart rate, most seniors benefit from both.
- Stop immediately if you feel chest pain, dizziness, or sharp joint pain, these are not "push through" workouts.
What Are Chair Exercises for Seniors With Limited Mobility?
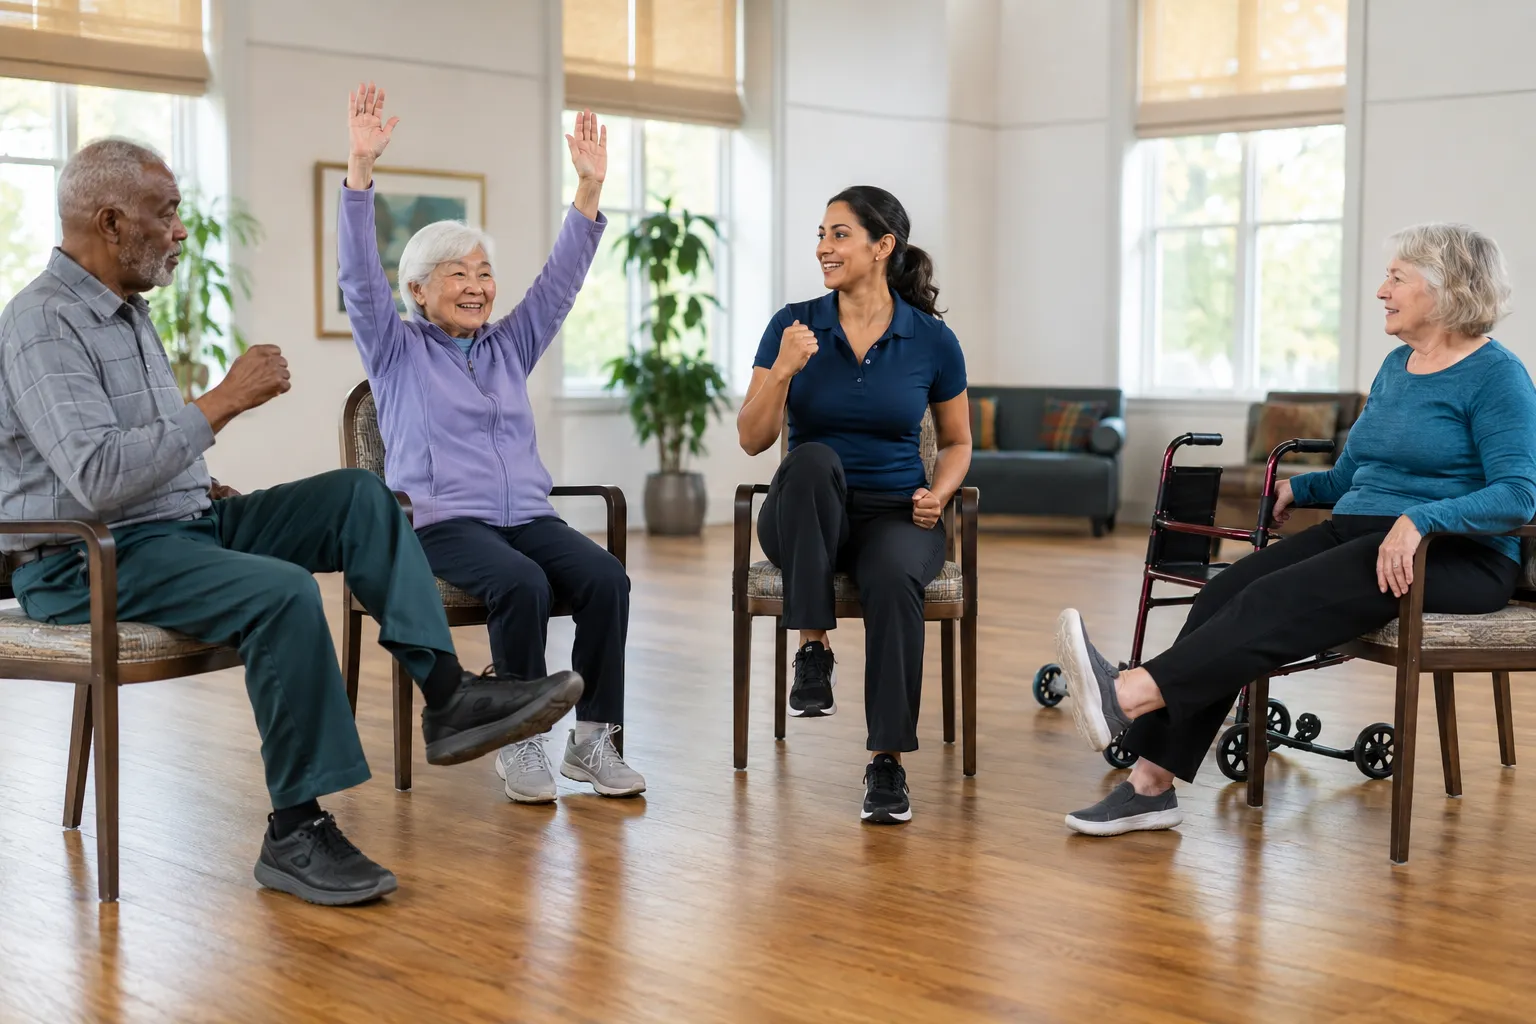
Chair exercises are strength, mobility, and cardio movements performed while seated in a sturdy chair, designed for older adults who can't safely get down to (or up from) the floor. They cover the same fitness pillars as standard workouts, muscle strength, joint mobility, cardiovascular endurance, and flexibility, just adapted so the chair provides stability and support.[1][2]
Common seated movements include:
- Seated leg extensions, lift one leg until it's parallel to the floor, hold 2 seconds, lower slowly. 10-12 reps per leg.[1]
- Seated marches, lift knees alternately as if walking. 30-60 seconds for a cardio burst.
- Seated arm curls with light dumbbells or water bottles, 10-15 reps.
- Seated trunk rotations, gentle twists to keep the spine mobile.[8]
- Ankle circles and wrist circles, 8-12 per direction to keep joints lubricated.[8]
Choose chair-based workouts if you have knee replacements, severe arthritis, vertigo, recent surgery, or simply feel unsafe standing without support. They're also the right starting point after long periods of inactivity.
How Do You Do Standing Workouts Safely if You Have Balance Issues?
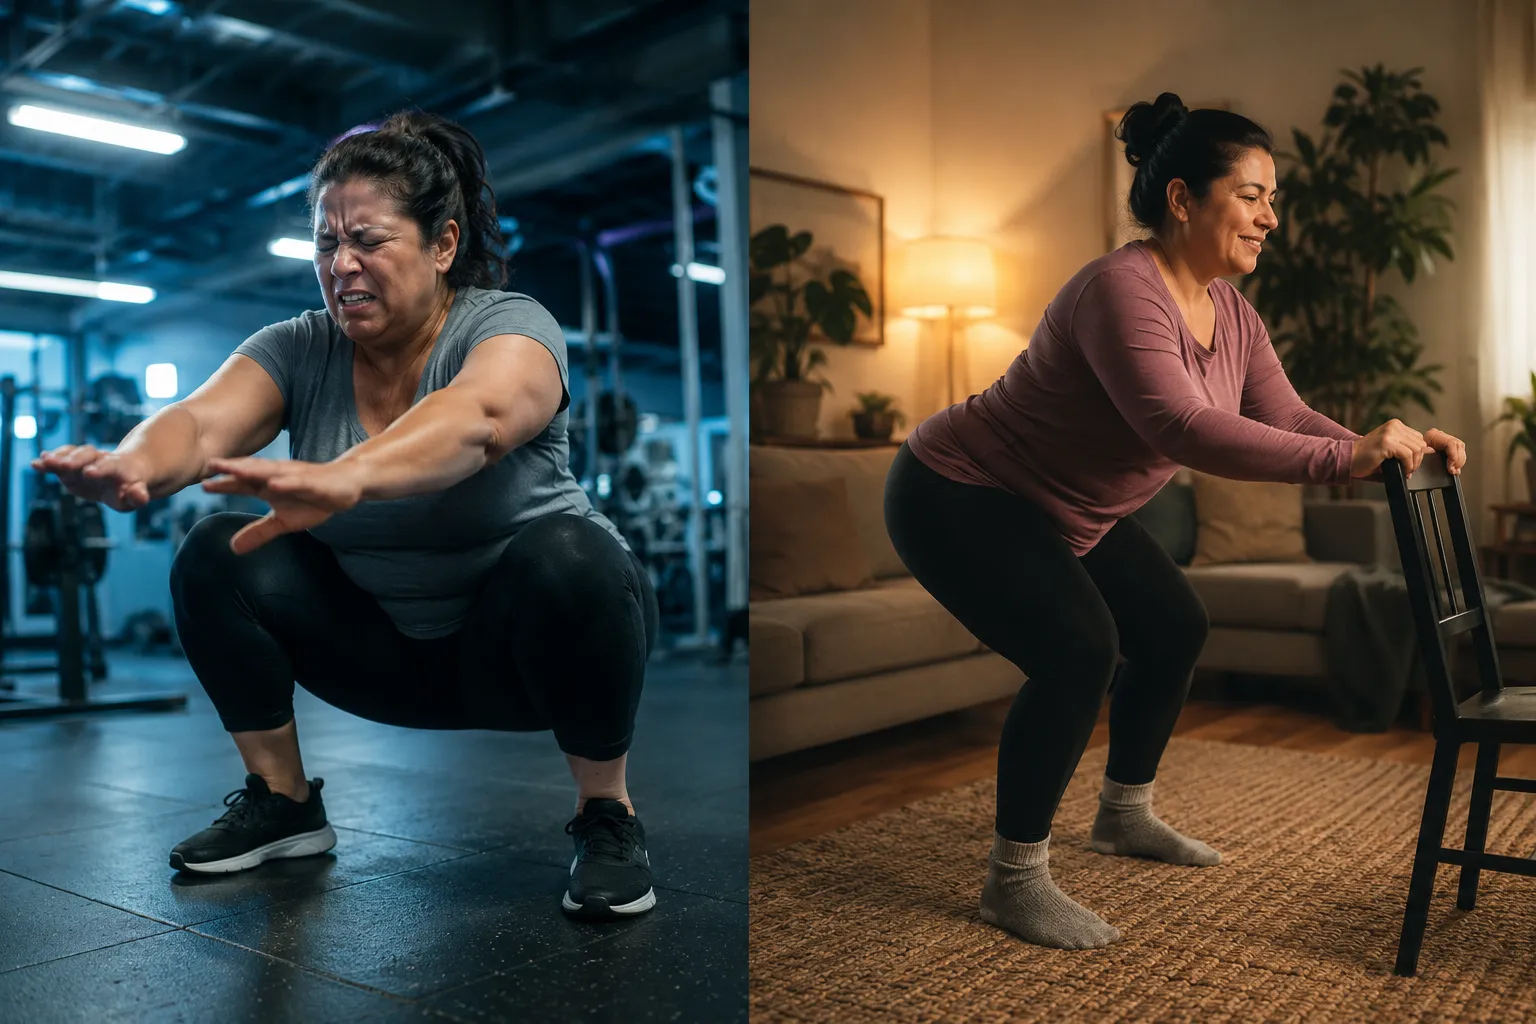
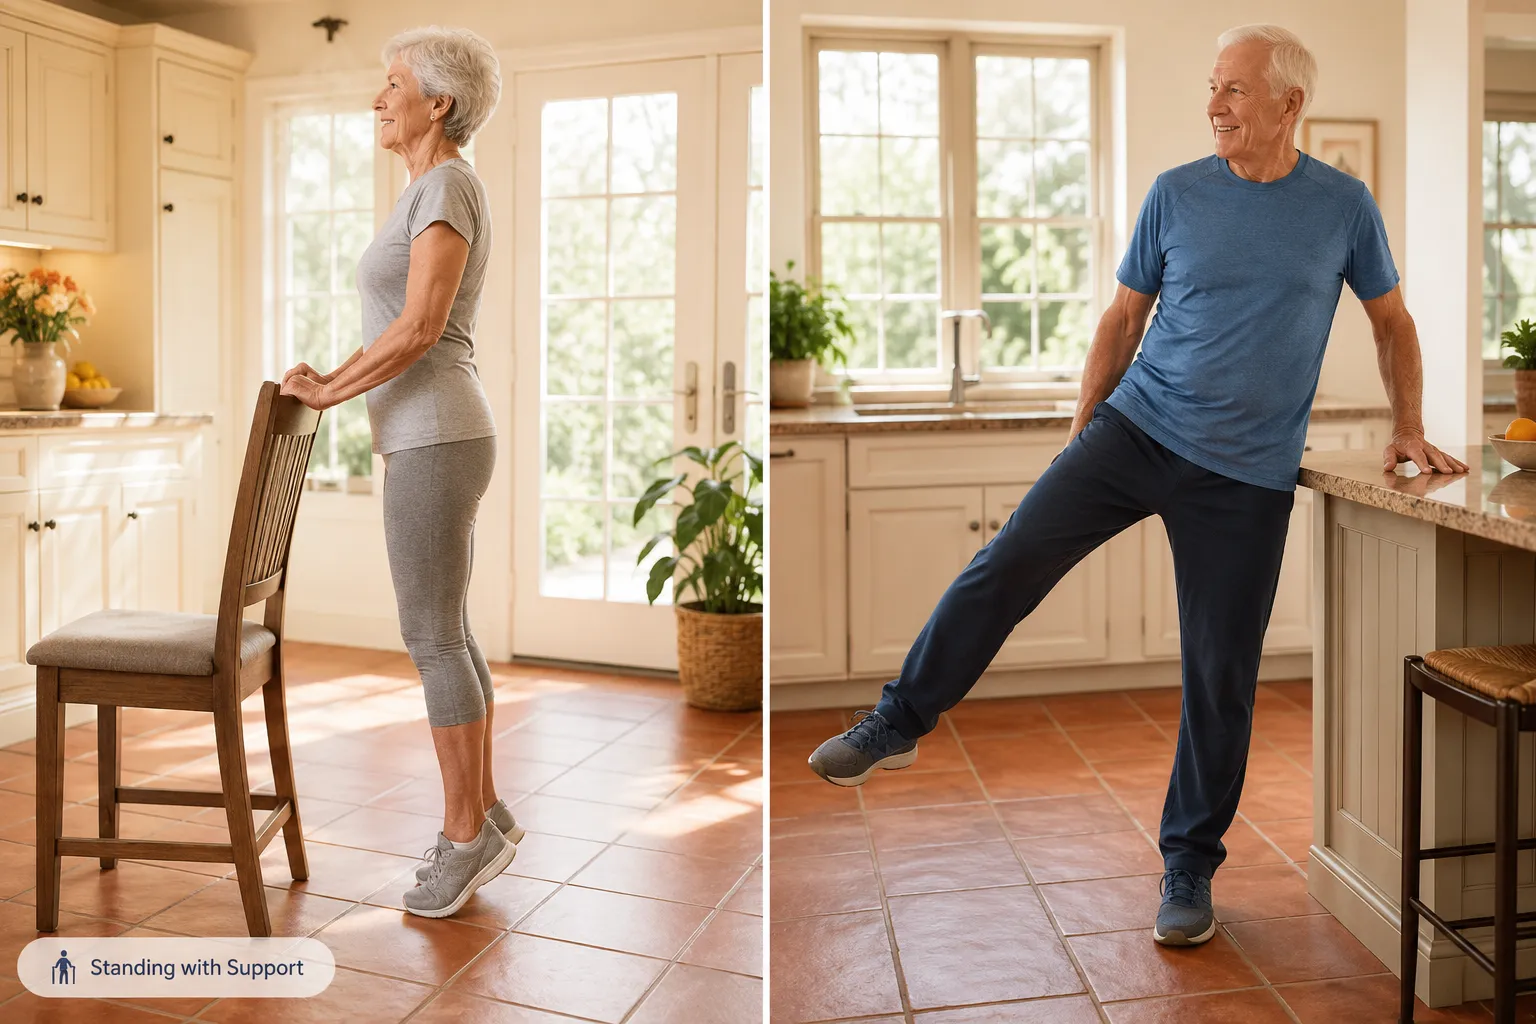
Always keep at least one hand on a sturdy anchor, the back of a heavy chair, a kitchen counter, or a wall bar, and never train standing exercises alone if you've fallen in the past year. Position yourself so you can sit down within one step at any moment.[6][7]
Safe setup checklist:
- Use a chair with a high back and no wheels, placed against a wall so it can't slide.
- Wear flat, closed-toe shoes with grip, no socks on hardwood.
- Clear a 3-foot radius of rugs, cords, and pets.
- Have water within reach and a phone nearby.
- Start with both hands on the chair back; progress to one hand, then fingertips, only when steady.
Beginner supported-standing moves:
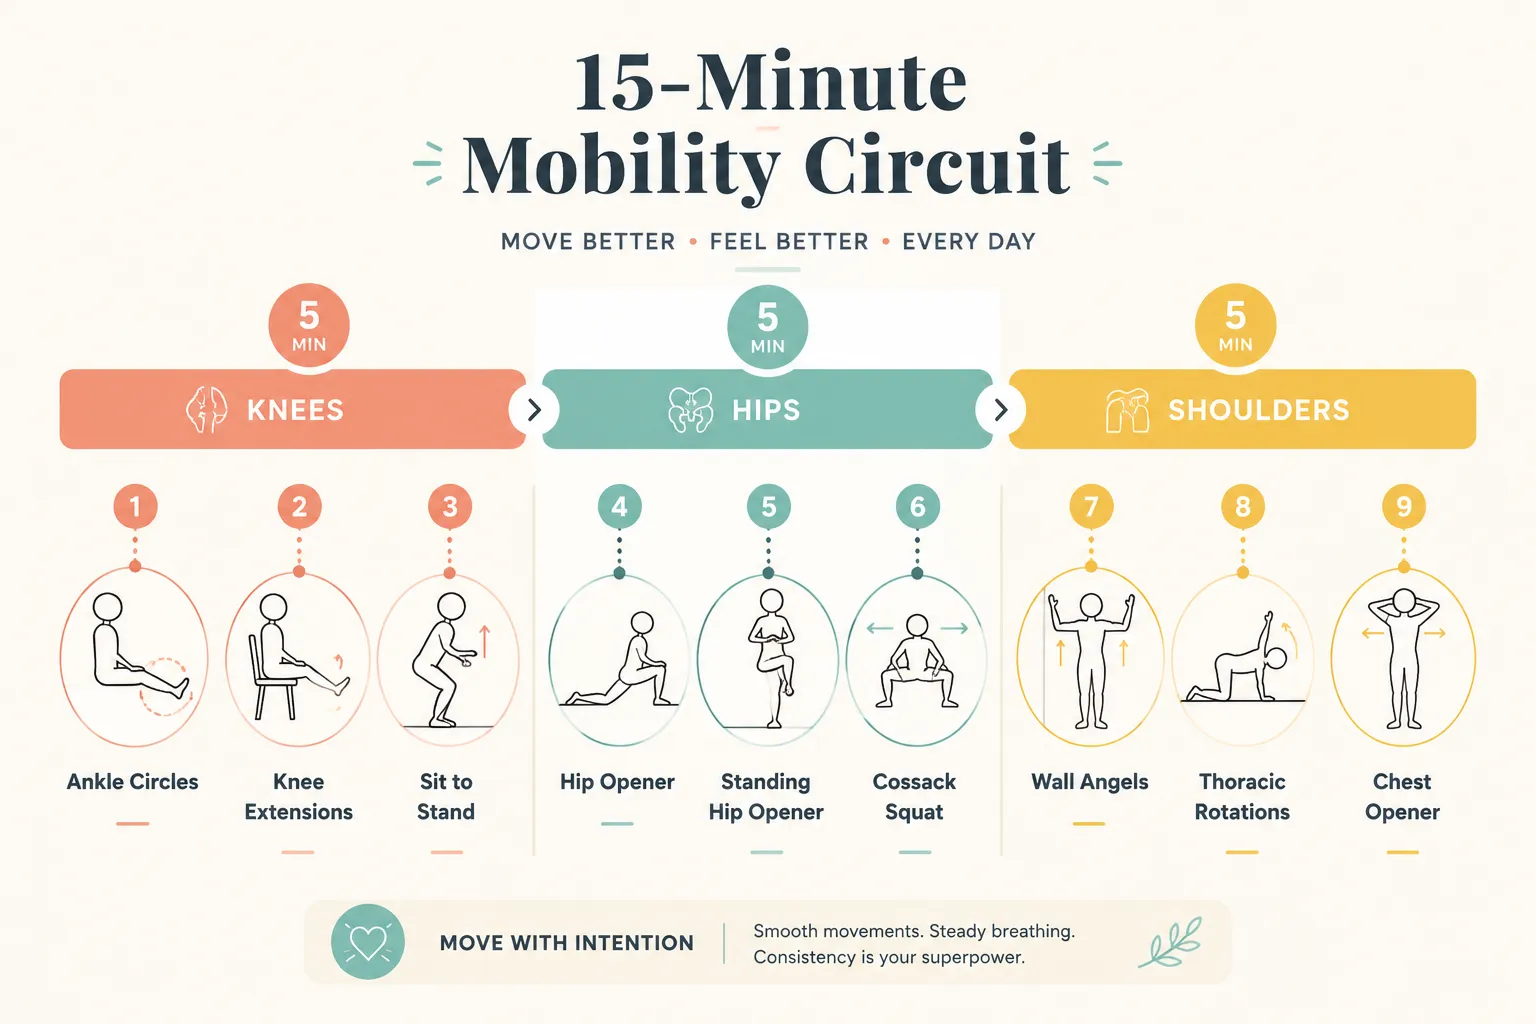
- Sit-to-stands, from a chair, stand up and sit down slowly. 8-10 reps. This is the single best predictor of independence in later life.
- Standing calf raises, rise onto toes, lower with control. 10-15 reps.
- Standing side leg lifts, lift one leg out to the side. 10 per side.
- Standing marches, lift knees while holding the chair. 30 seconds.
Common mistake: Rushing to let go of support. Balance improves by degrees. Spend 2-4 weeks holding on with both hands before reducing support.
Can Seniors Build Muscle Strength From Chair Exercises Alone?
Yes, chair exercises can build meaningful strength, especially in the legs, core, shoulders, and arms, when they use enough resistance and are done 2-3 times per week. Muscle responds to challenge at any age, and Harvard Health confirms that seated resistance work improves strength, stamina, and daily function in older adults.[2]
To make chair work strength-building (not just movement):
- Add resistance: light dumbbells (1-5 lb), resistance bands, or filled water bottles.
- Slow the tempo: 2 seconds up, 2 seconds pause, 3 seconds down. Slow reps recruit more muscle.
- Progress gradually: when 12 reps feel easy, add a set or increase weight by 1-2 lb.
- Train opposing muscles: curls and presses, extensions and hamstring curls.
Edge case: If you have severe sarcopenia (age-related muscle loss), pair chair strength work with adequate protein, roughly 1.0-1.2 g per kg of body weight daily, or the muscle-building signal has nothing to work with.
Chair Yoga vs. Chair Aerobics: What's the Difference?
Chair yoga emphasizes slow stretching, breath control, and flexibility; chair aerobics emphasizes continuous movement to raise heart rate and improve cardiovascular fitness. Neither is "better", they train different systems, and most seniors benefit from doing both across the week.
Pace: slow · Focus: flexibility, breath, calm · Typical moves: seated cat-cow, chest openers, seated forward fold, neck stretches · Heart rate: low
Chair Aerobics
Pace: moderate to brisk · Focus: cardio, circulation, stamina · Typical moves: seated marches, punches, side taps, boxer shuffles · Heart rate: elevated
Choose chair yoga if stress, stiffness, or sleep is your main concern. Choose chair aerobics if endurance, energy, or heart health is the priority. Do both if you want a complete program.
Best Low-Impact Standing Exercises for Seniors With Arthritis
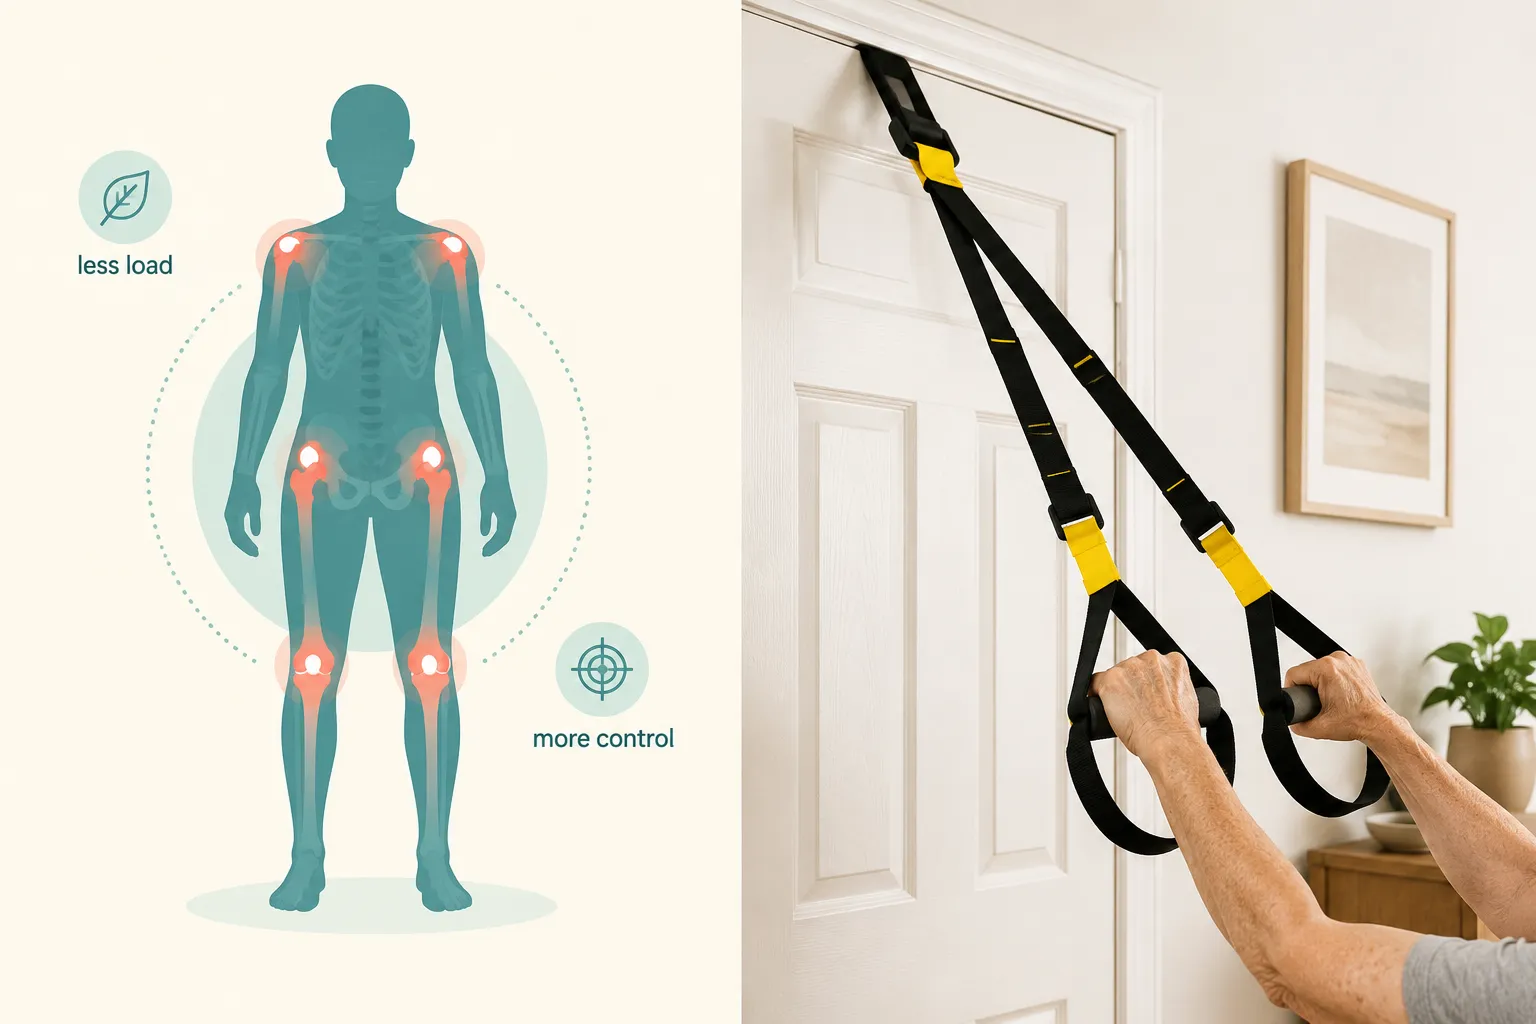
For arthritic joints, the best standing exercises use short lever arms, pain-free range, and constant chair support. Prioritize movements that strengthen muscles around the joint without loading it heavily, quad sets, hip abductions, and calf raises fit this profile.[7][10]
Arthritis-friendly standing routine (10 minutes):
- Warm-up marches at the counter, 60 seconds
- Mini sit-to-stands (halfway down only), 8 reps
- Standing calf raises, 12 reps
- Standing hip abductions (leg out to side), 10 per side
- Standing hamstring curls (heel toward glute), 10 per side
- Wall push-ups, 8-10 reps
- Cool-down: standing chest opener, hold 20 seconds
Rule of thumb: Pain during exercise should not exceed 3/10, and it should return to baseline within an hour of stopping. If it doesn't, reduce range or reps next session.
How Often Should Seniors Do Chair and Standing Workouts Per Week?
Aim for 4-5 sessions per week, typically 2-3 strength-focused days and 2-3 mobility or cardio days, with at least one full rest day. Sessions of 15-30 minutes are enough to produce measurable gains within two months.[2][8]
Sample weekly plan:
| Day | Focus | Length |
|---|---|---|
| Monday | Seated strength (legs + arms) | 25 min |
| Tuesday | Chair yoga / mobility | 20 min |
| Wednesday | Supported standing strength | 20 min |
| Thursday | Rest or gentle walk | , |
| Friday | Seated aerobics | 20 min |
| Saturday | Supported standing balance | 20 min |
| Sunday | Chair yoga or full rest | 15 min |
Beginner adjustment: Start with 3 days a week for the first two weeks. Add a fourth day only when you're not sore the next morning.
Can You Lose Weight Doing Seated Exercises as a Senior?
Yes, modest weight loss is achievable with consistent seated workouts combined with dietary adjustments, but chair cardio alone burns fewer calories than walking, so the diet side matters more. Expect a slow, sustainable pace of 0.5-1 pound per week when both are aligned.
- Calorie burn (seated aerobics): roughly 120-200 calories per 30-minute session, depending on intensity and body size.
- Muscle mass matters: strength work raises resting metabolic rate, which helps long-term.
- Diet lever: a 300-500 calorie daily reduction, paired with adequate protein, drives most senior weight loss.
Don't try aggressive calorie cuts. Rapid weight loss in older adults often strips muscle, which is exactly what chair workouts are trying to build.
What Equipment Do You Need for Chair Workouts at Home?
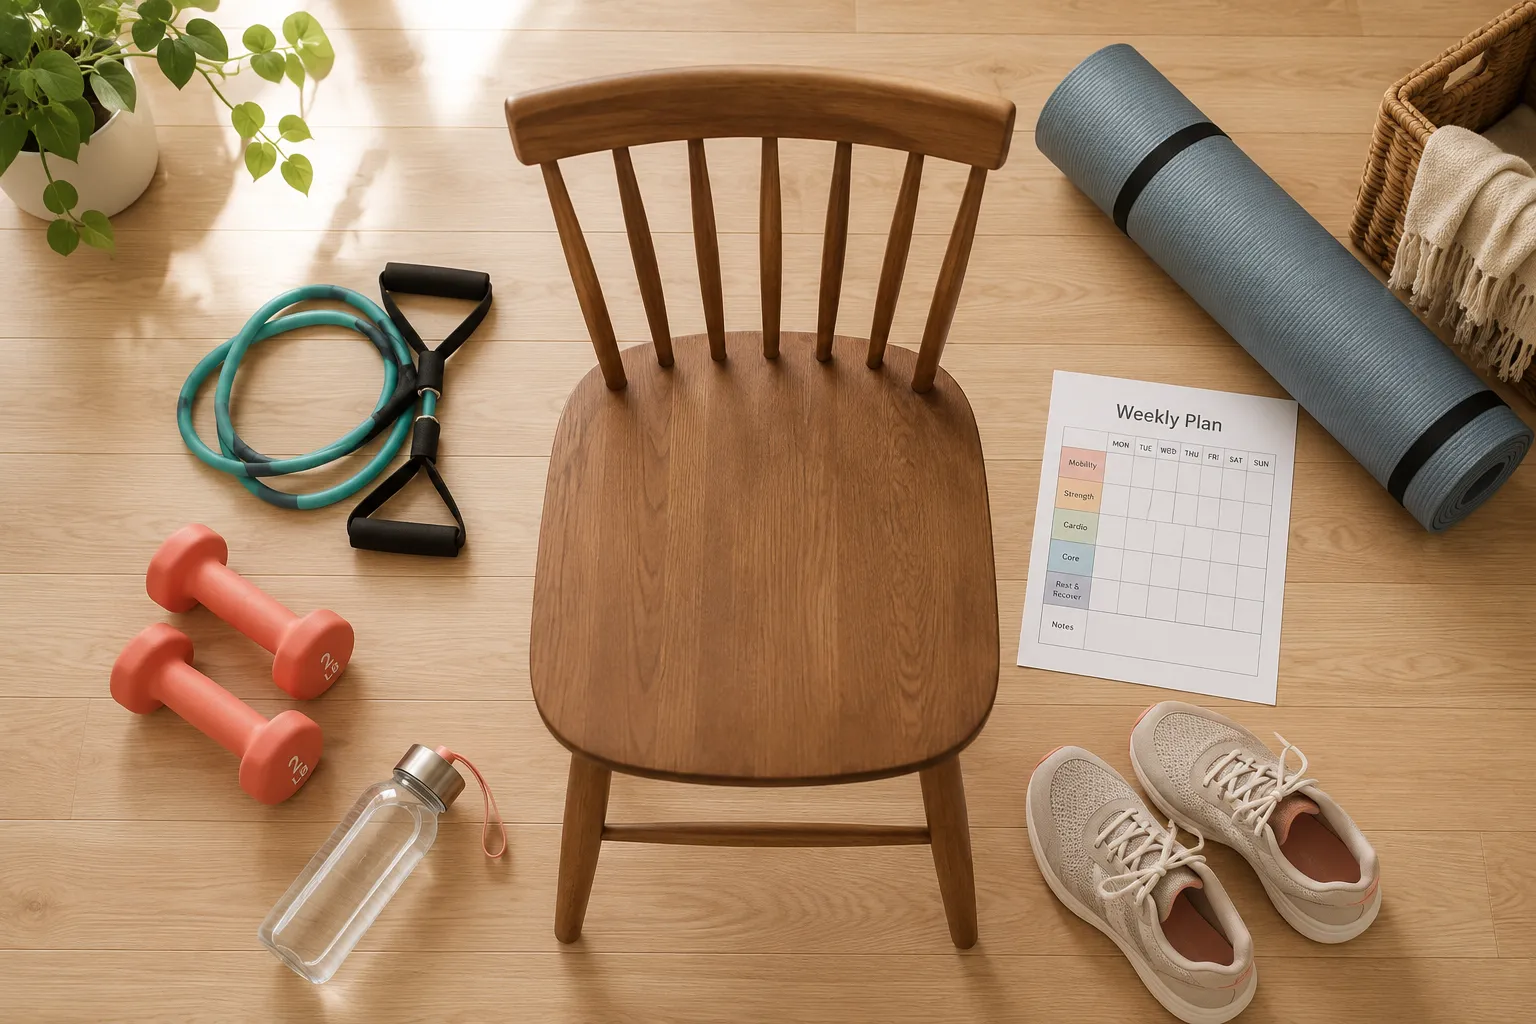
The minimum kit is a sturdy armless chair on a non-slip floor. Everything else is optional and cheap. Total starter cost: $0,$40.[1][9]
Essential:
- Sturdy chair with a firm seat, no wheels, no arms (dining chair works)
- Non-slip floor or yoga mat under the chair
- Flat shoes with grip
Nice to have:
- Light dumbbells (1, 2, 3, 5 lb set), ~$20
- Resistance bands (light and medium), ~$10
- Small pillow for lumbar support
- Water bottles (double as improvised weights)
Skip: ankle weights heavier than 2 lb (they strain knees), unstable surfaces like balance discs (fall risk), and treadmill-style equipment unless supervised.
How Do Chair Exercises Help With Fall Prevention in Seniors?
Chair exercises reduce fall risk by strengthening the exact muscles that catch you when you stumble, quads, glutes, hip abductors, and ankle stabilizers, and by training the sit-to-stand transition that causes many at-home falls.[1][6]
High-value fall-prevention moves:
- Sit-to-stands, trains hip and knee power for getting out of chairs, cars, toilets.
- Standing hip abductions, strengthens the side-hip muscles that keep you upright on one leg.
- Heel-toe rocks (holding chair), trains ankle stability.
- Seated marches with reach, trains hip flexors and core coordination.
Progress marker: If you can do 10 sit-to-stands in 30 seconds without using your hands, your fall risk is significantly lower than someone who can't.
Are Chair Workouts Effective for Improving Posture and Flexibility?
Yes. Regular chair-based mobility work counteracts the forward-hunched posture that develops from sitting and reduces stiffness in the shoulders, spine, and hips. The British Heart Foundation's 2026 chair mobility routine, shoulder shrugs, chest openers, and gentle trunk rotations, is specifically designed for this.[8]
Daily 5-minute posture reset:
- Seated shoulder rolls, 10 backward, 10 forward
- Chest opener (hands behind head, elbows wide), 3 breaths
- Seated trunk rotation, 8 per side
- Neck turns (chin to shoulder), 8 per side
- Seated cat-cow, 8 rounds
Consistency beats duration. Five minutes daily outperforms 30 minutes once a week.
What Should Seniors Avoid When Doing Standing Exercises?
Avoid unsupported balance work early on, holding your breath during strain, deep knee bends past 90 degrees, and any movement that causes sharp joint pain or dizziness. Also skip exercises done on soft surfaces (beds, thick rugs), they hide balance errors.[6][7]
Red flags, stop immediately if you feel:
- Chest pain, tightness, or unusual shortness of breath
- Dizziness, lightheadedness, or visual changes
- Sharp joint pain (dull ache is usually fine)
- Numbness or tingling down an arm or leg
- Loss of bladder control or sudden weakness
Common mistakes to avoid:
- Wearing socks instead of shoes
- Locking knees at the top of standing moves
- Rushing reps (speed hides poor control)
- Skipping the warm-up
- Training when severely fatigued or ill
Can Chair Exercises Help With Balance and Coordination Problems?
Yes, targeted chair-based drills improve balance by training the sensory and motor systems that keep you upright, even before you attempt full standing work. This is the safest entry point for anyone with vertigo, neuropathy, or recent falls.
Balance-building chair drills:
- Seated weight shifts, shift weight side to side without lifting feet, 20 reps
- Seated single-leg reaches, extend one leg and reach opposite arm forward, 8 per side
- Head turns while marching, challenges the vestibular system, 30 seconds
- Eyes-closed seated marches (only if steady), 20 seconds
Progress to supported standing balance work, heel raises, toe raises, tandem stance holding the chair, once seated drills feel easy.
How Long Does It Take to See Results From Senior Chair Workouts?
Most seniors notice easier daily movement within 2-3 weeks, measurable strength gains by 4-6 weeks, and clear improvements in balance and posture by 8-12 weeks of consistent training.[2]
Realistic timeline:
- Week 1-2: less morning stiffness, better mood, slightly better sleep
- Week 3-4: sit-to-stand feels easier, stairs less taxing
- Week 6-8: noticeable arm and leg strength; posture improves
- Week 12+: endurance, balance confidence, and often lower resting blood pressure
If you see nothing by week 6: you're probably under-loading (weights too light) or under-doing (fewer than 3 sessions weekly). Add resistance or a day, not more reps.
The Safest Way to Transition From Sitting to Standing During Exercise
Move slowly through three stages: scoot, plant, press. This sequence prevents the blood-pressure drop and dizziness that causes many exercise-related falls in older adults.
Step by step:
- Scoot to the front third of the chair seat.
- Plant both feet flat, hip-width apart, directly under or slightly behind your knees.
- Lean your chest forward over your toes ("nose over toes").
- Press through your heels and stand up, using the chair arms or thighs for a push if needed.
- Pause standing for 3-5 seconds before starting any movement, this lets blood pressure equalize.
- To sit: reverse the process. Feel the chair with the back of your legs before lowering.
Decision rule: If you feel dizzy standing up, sit back down immediately, breathe, and try again in 30 seconds. Never fight through lightheadedness.
Full-Body Chair and Standing Workouts for Seniors: Sample Routines
Here are two complete routines you can use today. Both are Chair and Standing Workouts for Seniors, Low-Impact Strength and Mobility When Getting Down Is Difficult in action.
Routine A: 20-Minute Seated Full-Body
- Warm-up: seated marches + arm swings, 2 min
- Seated leg extensions, 2 sets of 10 per leg[1]
- Seated overhead press with light weights, 2 sets of 10
- Seated bicep curls, 2 sets of 12
- Seated trunk rotations, 2 sets of 10 per side[8]
- Seated ankle circles + wrist circles, 8 each direction[8]
- Cool-down: chest opener + slow breathing, 2 min
Routine B: 20-Minute Supported Standing
- Warm-up: standing marches at chair, 2 min
- Sit-to-stands, 2 sets of 8
- Standing calf raises, 2 sets of 12
- Standing side leg lifts, 2 sets of 10 per side
- Standing hamstring curls, 2 sets of 10 per side
- Wall push-ups, 2 sets of 8
- Cool-down: standing chest opener + gentle sway, 2 min
Alternate A and B across the week for a balanced program.
FAQ
Q: Do I need a doctor's approval before starting?
A: Yes, if you have heart disease, uncontrolled blood pressure, recent surgery, or a history of falls. A quick clearance conversation is worth it.
Q: Can I do chair workouts if I use a wheelchair?
A: Absolutely. Most seated exercises transfer directly. Skip standing work and focus on resistance training and mobility.
Q: How heavy should my dumbbells be?
A: Start with 1-2 lb. If you can do 15 reps easily with perfect form, move up 1-2 lb. Most seniors work in the 2-8 lb range.
Q: Are YouTube chair workout videos safe?
A: Many are excellent, but confirm the instructor is certified in senior fitness (SilverSneakers, ACE Senior, or similar) and start with beginner-level content.[3][4]
Q: What if I get sore?
A: Mild soreness for 24-48 hours is normal for new exercisers. Sharp pain, swelling, or soreness lasting over 3 days means you overdid it, scale back.
Q: Can chair exercises replace walking?
A: They complement walking, not replace it. If you can walk safely, keep walking. Chair work fills gaps on bad-weather days or when joints flare.
Q: Is it too late to start at 80 or 90?
A: No. Strength gains have been documented in adults well into their 90s. Start smaller and progress slower, but start.
Q: How do I stay motivated?
A: Schedule sessions like appointments, track them on a paper calendar, and pair workouts with something you enjoy (music, a favorite show, a phone call).
Conclusion
Chair and standing workouts for seniors are one of the most reliable ways to preserve strength, balance, and independence when getting down to the floor isn't safe or realistic. The formula is simple: a sturdy chair, 4-5 short sessions per week, gradual added resistance, and supported standing work built in as balance improves.
Your next steps:
- Place a sturdy armless chair in a clear, well-lit space today.
- Do Routine A (seated full-body) this week, three times, 20 minutes each.
- Add Routine B (supported standing) in week two.
- Track progress with one simple metric: how many sit-to-stands you can do in 30 seconds.
- Reassess at week 6. Add weight, add a day, or add a new movement.
Consistency, not intensity, is what changes outcomes at this stage of life. Start smaller than you think you need to, and don't stop.
References
[1] Chair Exercises For Seniors – https://health.clevelandclinic.org/chair-exercises-for-seniors
[2] Chair Exercises For Seniors Boosting Strength Flexibility And Stamina – https://www.health.harvard.edu/exercise-and-fitness/chair-exercises-for-seniors-boosting-strength-flexibility-and-stamina
[3] Watch – https://www.youtube.com/watch?v=MmIpgD1hL30
[4] Watch – https://www.youtube.com/watch?v=mQLzNf8VOIc
[5] 7 Standing Exercises For Core Strength – https://www.silversneakers.com/blog/7-standing-exercises-for-core-strength/
[6] Standing Exercises For Seniors – https://eldercarealliance.org/blog/standing-exercises-for-seniors/
[7] Standing Exercises For Seniors – https://www.planetfitness.com/blog/articles/standing-exercises-for-seniors
[8] Chair Based Exercises – https://www.bhf.org.uk/informationsupport/heart-matters-magazine/activity/chair-based-exercises
[9] Chair Exercises For Seniors – https://www.lifeline.ca/en/resources/chair-exercises-for-seniors/
[10] Standing Exercises For Seniors – https://miravieseniorliving.com/lifestyle/standing-exercises-for-seniors/